New to mixing music? This article will walk you through 6 clear steps for mixing commercial quality songs, and help guide you through the process.
By Charles Hoffman, Black Ghost Audio
When your mixes don’t sound like the commercially released songs you hear on Spotify, it can be quite frustrating. It seems like there’s an ocean of great mixing tutorials out there, but translating that into better mixes isn’t always so straightforward. The truth is that mixing a great record is a relatively simple process, but the devil is in the details. Getting from point A (raw mix) to point B (polished mix) requires you to make a series of well-informed decisions, and this is where a lot of producers fall off the wagon.
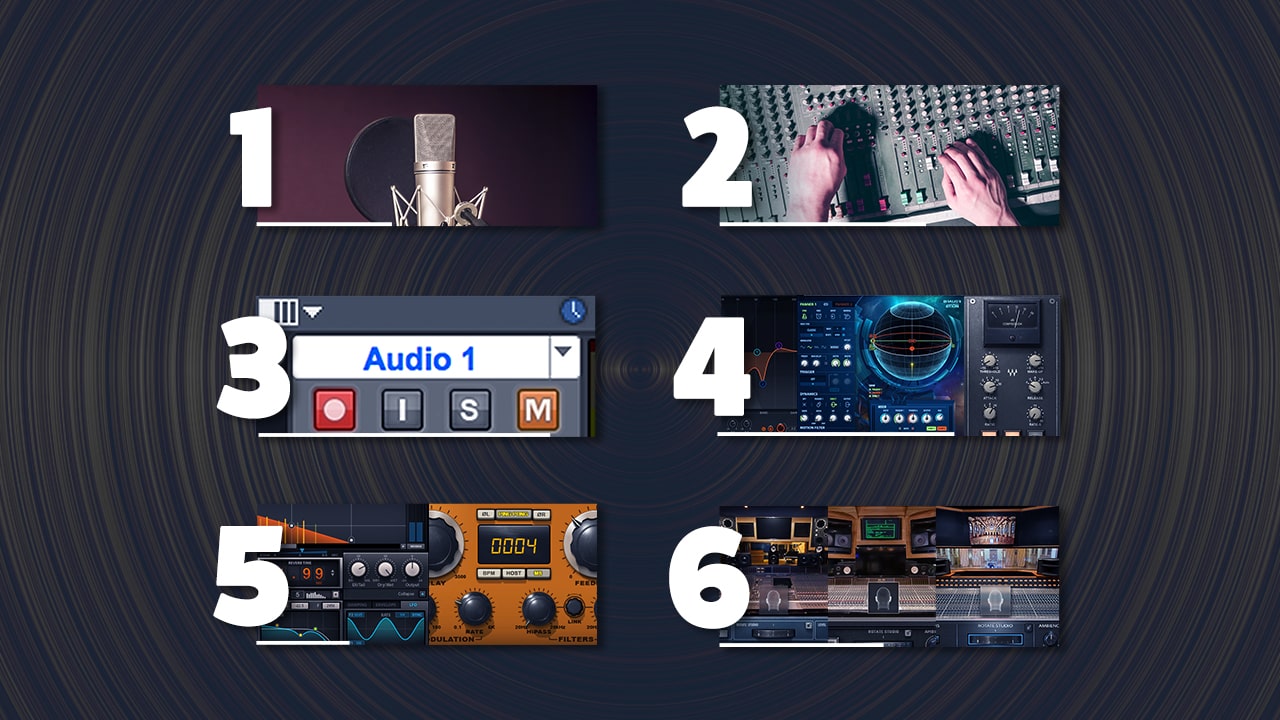
Mixing a great record requires you to start with great recordings, set rough audio levels, let “fluff” go, add clarity, create mix layers, and reference your mix through different playback systems. Let’s take a look at each of the 6 critical steps of the mixing process in detail.
1. Start With Great Recordings
As the old saying goes, “you can’t polish a turd.” One of the biggest misconceptions about mixing music is that if you have the right plugins and you know the right mixing techniques, you can make anything sound professional. Well, you can improve upon almost anything, but if you’re attempting to hit a certain standard of quality, your recordings need to start off sounding great—both from a performance and recording quality perspective.
When you’re handed a poor performance, there’s sometimes nothing you can do to fix it other than re-record. Even with the best recording gear at your disposal, a singer who delivers a performance that’s dull, boring and void of emotion isn’t going to sound good. The same goes for a guitarist who doesn’t practice their guitar solo and sounds sloppy; all the EQ and compression in the world isn’t going to fix a performance issue like this.
As the recording engineer, you can contact performers a few days before their session and gently remind them to come prepared, which obviously involves practicing. If you want to take things a step further, research a few warm-up routines for vocalists, guitarists and pianists online. You don’t necessarily need to know how to sing or play instruments like a pro to coach someone else through a basic warm-up. Loosening up a performer in this way can make a big difference to sound and tonal quality.
For example, a “cold” vocalist is going to sound much less powerful and confident than when they’re warmed up. Comping together cold and warm recordings sometimes sounds like comping together two different vocalists—it doesn’t work. Often, you won’t be able to use the cold recordings at all.
Beyond that, make sure to set your input levels appropriately so that clipping doesn’t occur in the recording. To do this, aim for a consistent peak level within the -18 to -12 dB range; this should provide you with plenty of headroom.
Remove as much potential background noise as possible; this might mean turning off your air conditioning briefly, blocking outside noise with a sound-dampening curtain, or taking other measures to reduce the noise floor in your recordings.
Despite your best efforts, your recordings may still contain some low-level noise. You can use a plugin like the NS1 Noise Suppressor to apply automatic adaptive real-time noise suppression.
Finally, run a few tests to see which one of your microphone and preamp combinations suits your performer the best. If you’re recording through a hardware compressor and/or EQ, experiment with a few different setting options. Your recordings should sound great from square one, and amazing once you’ve finished processing them.
Don’t worry too much about small pitch-related performance issues. Pitch correction plugins like Waves Tune allow you to set new pitch targets after you’ve recorded, letting you experiment with alternative melody lines. Tuning a vocal a few cents to ensure a pitch-perfect sound is a cakewalk in comparison to what Waves Tune is capable of.
EDM artists who aren’t necessarily recording acoustic sounds themselves should focus their attention on sound selection and sound design at this point. Make sure that the samples you’re working with were recorded well so that you don’t put yourself in a difficult mixing position.
2. Set Rough Audio Levels
Working on a project containing 70 tracks can be overwhelming when you realize that you need to set 70 track levels. The main goal is to set your track levels in a way that highlights your song’s most notable components while tucking less prominent elements into the back of the mix. For example, the vocals in a pop song are usually louder than an ambient background pad because they’re telling the story and need to be heard clearly.
To remain organized, a good place to start involves grouping similar instruments together. For example, you can bus together all of your drums, basses, vocals, guitars, and effects into their own separate groups. Soloing your drum bus and setting the level of a kick, snare, hi-hat, a few toms and some overheads is nowhere near as daunting as 70 tracks. Treat your busses like sub-mixes, soloing each bus and setting the level of tracks included in the bus one at a time.
Next, you can set the level of your groups relative to one another. Again, adjusting the level of a drum bus, bass bus, vocal bus, guitar bus and effects bus is significantly easier than trying to tackle 70 tracks head-on.
When mixing your groups together, mute each group and bring them into the mix one at a time. Start by unmuting your drums, followed by your bass group. Once you’ve balanced them nicely against one another, move on to the vocal bus. Follow this up with supporting groups like your guitar bus and effects bus.
3. Let “Fluff” Go, If Necessary
Some mixes simply won’t work unless you remove problematic tracks. For example, you can’t layer five sub-basses together and expect your mix to sound good—you’ll experience massive phase-related issues that make your low-end sound weak and messy. There’s only so much space available within the stereo field. The low-end of a mix can become crowded quite easily, while there’s significantly more space in the top-end.
If your mix is too busy, there’s a simple solution – begin muting tracks until your song starts to fall apart. Start with “fluff” tracks like risers and down sweeps that exist to fill space. Afterward, move on to other background elements. If you mute a track and the groove of your song falls apart or the song loses its feeling, you’ve removed something that you shouldn’t have.
The point of muting tracks is to identify the elements of your song that are at the top of the importance hierarchy, which will allow you to identify unnecessary tracks that are taking up space and muddying your mix. These are the tracks that should be the first to go if you need to simplify your arrangement for mixing purposes.
4. Add Clarity with Panning, EQ and Compression
There’s plenty of space available across the stereo field, and you can add clarity to your mix by taking advantage of it. When there are too many track elements clustered together in the middle of your mix, frequency masking can occur. You can pan guitars, harmony synths, vocal doubles, and delay effects out to the sides of your mix; this will provide main elements, like lead vocals, more space and clarity in the middle.
It’s easy to get carried away with panning, so simplify the process. Using panning values of either 50L, 25L, C, 25R, or 50R; the average listener won’t be able to hear panning differences in smaller increments than this. In some cases, you may want to make smaller panning adjustments, like when you’re attempting to pan drums realistically from either an audience’s or drummer’s perspective.
Once you’ve panned all the tracks in your mix appropriately, you may still notice a few tracks that sound ill-defined and muddy. Using an EQ to boost the sound’s most desirable qualities can help them shine through the mix. Alternatively, if you’re hearing too much of a negative quality, such as “boominess,” you can use an EQ to reduce that quality.
The best way to target desirable or undesirable qualities is by frequency fishing with a parametric EQ like the Q10 Equalizer. Boost the gain of one of the bands by 18 dB and use a moderate Q value around 7. Set the band’s frequency value as high as possible (21,367 Hz) and then slowly reduce the frequency value, sweeping the band through the frequency spectrum. When the sound that you want to enhance or reduce becomes extremely audible, leave the band where it is. Then, adjust the band’s gain to taste—either boosting or cutting the targeted frequency range.
Compression can help you set tighter track levels, allowing primary elements like vocals to remain present throughout the duration of your entire mix. If you’ve mixed a dynamic vocal recording so that the loudest parts of the recording sound balanced with the rest of your mix, the quiet portions of the vocal will get buried. The following video explains how to avoid this issue by dialing in the perfect vocal compression settings using Waves MV2.
Keep in mind, your mixes don’t always need to be perfectly clean. In fact, making mixing decisions with the sole purpose of achieving mix clarity will often result in songs that sound sterile and lack emotional impact. For example, “Look At Me!” by XXXTENTACION had mixing engineers up in arms when it was released in 2017. The bass in this song is extremely distorted, to the point that it sounds like it could be a mixing oversight. However, if you look past mixing norms, the distorted bass fits the song quite well and is one of its defining characteristics.
“In Vain w/Kaiyko” by Shinigami is another example of a song with tremendous emotional impact that benefits from a mix that sounds raw. The instrumentation in this track is rather simple; there are two guitars, a main vocal and a filtered drum loop. You can hear that the timing of the guitar isn’t perfectly quantized, and around 1:31 there’s some audible clipping on the female vocal. In the same way that the lyrics display vulnerability and imperfection, so does the mix. It’s difficult to determine whether or not these mixing decisions were intentional without talking to the producer, but they certainly suit the song well.
You can achieve the same type of vinyl noise nested within the background of “In Vain w/Kaiyko” using Waves’ Retro Fi plugin. There are plenty of different noise algorithms to choose from that you can use to add character to your mixes, including cassette noise, digital noise, electric noise, vinyl noise and more.
5. Create Layers Using Volume, Reverbs and Delays
What’s the main goal when mixing a song? Well, mixing is subjective, very much like creating a painting. There are no rules, but there are some best practices. Ideally, you want to use your mixing tools to draw the attention of listeners in a particular direction and help them focus on what’s most important in the song. To do this, you’ll want to split your mix into a foreground, midground and background.
Volume faders, reverb and delay can help you create mix layers. Louder elements that are free of spatial effects like reverb and delay tend to appear upfront in the mix and present. In contrast, sounds that are quiet and coated in a healthy dose of reverb and delay will appear deeper within the mix. To shift sounds along the Z-axis of your mix, modify their volume level and the number of spatial effects that you’ve applied to them.
To simplify the process of splitting your mix into different layers, create four separate aux tracks. Apply H-Reverb Hybrid Reverb using a short decay time (around 0.5 seconds) to one and another instance of H-Reverb with a long decay time (around 3.5-5 seconds) to another.
On the third aux track, apply H-Delay Hybrid Delay using a 1/8th note delay time, and on the fourth aux track, apply another instance of H-Delay using a 1/4 note delay time. The reason this particular delay is great for this purpose is that it includes built-in filters that you can use to low-cut and high-cut your echoes around 500-2,500 Hz, providing them with their own unique space in the mix.
For track elements that you want to push to the back of the mix, send their signal to the long reverb and 1/4 note delay. Sounds that you want to position within the midrange of your mix, send to the short reverb and 1/8th note delay. You can process foreground elements in the same way as midrange elements, but consider sending less signal to your spatial effects—to maintain an upfront and present sound.
Another method of pushing track elements to the background of your mix involves compressing them. In the real world, sounds that are further away generally sound less dynamic than sounds that are nearby. Unsurprisingly, heavily compressed track elements will often appear further away than dynamic sounds in your mixes.
Learn more about mixing with reverb here.
6. Reference Your Mix Through Different Playback Systems
Referencing your mix through different playback systems will allow you to optimize playback quality across a variety of devices; not just the speakers you use to mix your music. Some systems hype low-end frequencies, while others make it difficult to hear frequency content within a particular range. The best way to identify these types of issues is using multiple reference systems.
Professional studios often contain a pair of nearfield monitors and midfield monitors that you can toggle between; this helps ensure playback consistency. Nearfield monitors are typically suited for small spaces like bedroom studios, and they’re meant to be placed either on a desk or nearby monitor stands. The sweet spot they create can usually accommodate no more than one engineer. Midfield monitors typically contain larger drivers than nearfield monitors, can be placed further away from the studio’s listening position, and create a large listening sweet spot that can host more than one engineer.
Most home studios are too small to adequately house a pair of midfield monitors, which is why many bedroom producers own nearfield monitors. You can still check playback consistency by referencing your mixes through cheap consumer speakers, secondary nearfield studio monitors like a pair of Avantone MixCubes, or your phone speaker. Speakers that lack low-end help you understand how the midrange of your mix is going to translate through low-end consumer devices.
You can accurately simulate the experience of referencing your mixes in a professional studio using Abbey Road Studio 3, CLA Nx, or Nx Ocean Way Nashville on any pair of headphones. These plugins replicate the acoustics of different famous commercial studio spaces, including their nearfield and midfield monitoring systems.
Nx Head Tracker is a piece of small hardware that clips onto your headphones and tracks your head movements; when you turn your head, the virtual studio that you’re using to reference your mix will rotate itself. Most impressive is the fact that this configuration allows you to monitor mixes in 5.1 and 7.1 surround sound, making it perfect for post-production engineers in addition to music producers.
You’re mostly listening for level imbalances and resonant frequencies when checking playback consistency. Ideally, your mix will sound great on every playback system, but most systems will consistently color the sound they produce in one way or another. Use a well-mixed reference song as a guide. If your reference song sounds bass-heavy on a particular system, the system probably boosts bass frequencies. Assuming your mix sounds balanced on a system like this, it’s an indication that your mix might be bass deficient—make level adjustments to your mix as necessary.
At the very least, check your mix on your studio monitors, a pair of studio headphones, and your phone’s speakers. If your mix sounds just as balanced as your reference song through these devices, it should translate well to most playback systems.
Learn more about mix referencing here.
Conclusion
There’s no doubt that we’ve simplified the process of mixing a great record—you’re still bound to run into mixing challenges along the way that are unique to the project that you’re working on. That being said, you now have a workflow that you can use to keep yourself pointed in the right direction when putting together mixes. Start with great recordings, set audio levels, be mindful of the current arrangement’s potential, add clarity, create mix layers and adequately reference your mixes.
Charles Hoffman is the owner of Black Ghost Audio—a website that provides free music production tips, tutorials, gear roundups, and premium online video courses. Visit Black Ghost Audio to learn how to produce music online.
Want to learn more mixing tips and tricks? Check out 5 mix details beginners don’t know they’re missing.
Want to get more tips straight to your inbox? Subscribe to our newsletter here.
creditSource link


