With iOS 16.1, Apple introduced several new features for the iPhone, such as a dynamic battery indicator, Live Activities, and more. One of the key features introduced includes iCloud Shared Photo Library. First announced at WWDC 2022, the feature is now available to the public. It offers an easy way of sharing photos with the ones close to you. In this article, we learn about the iCloud Shared Photo Library, how to join one, the features it offers, and more.
What is iCloud Shared Photo Library and how it works?
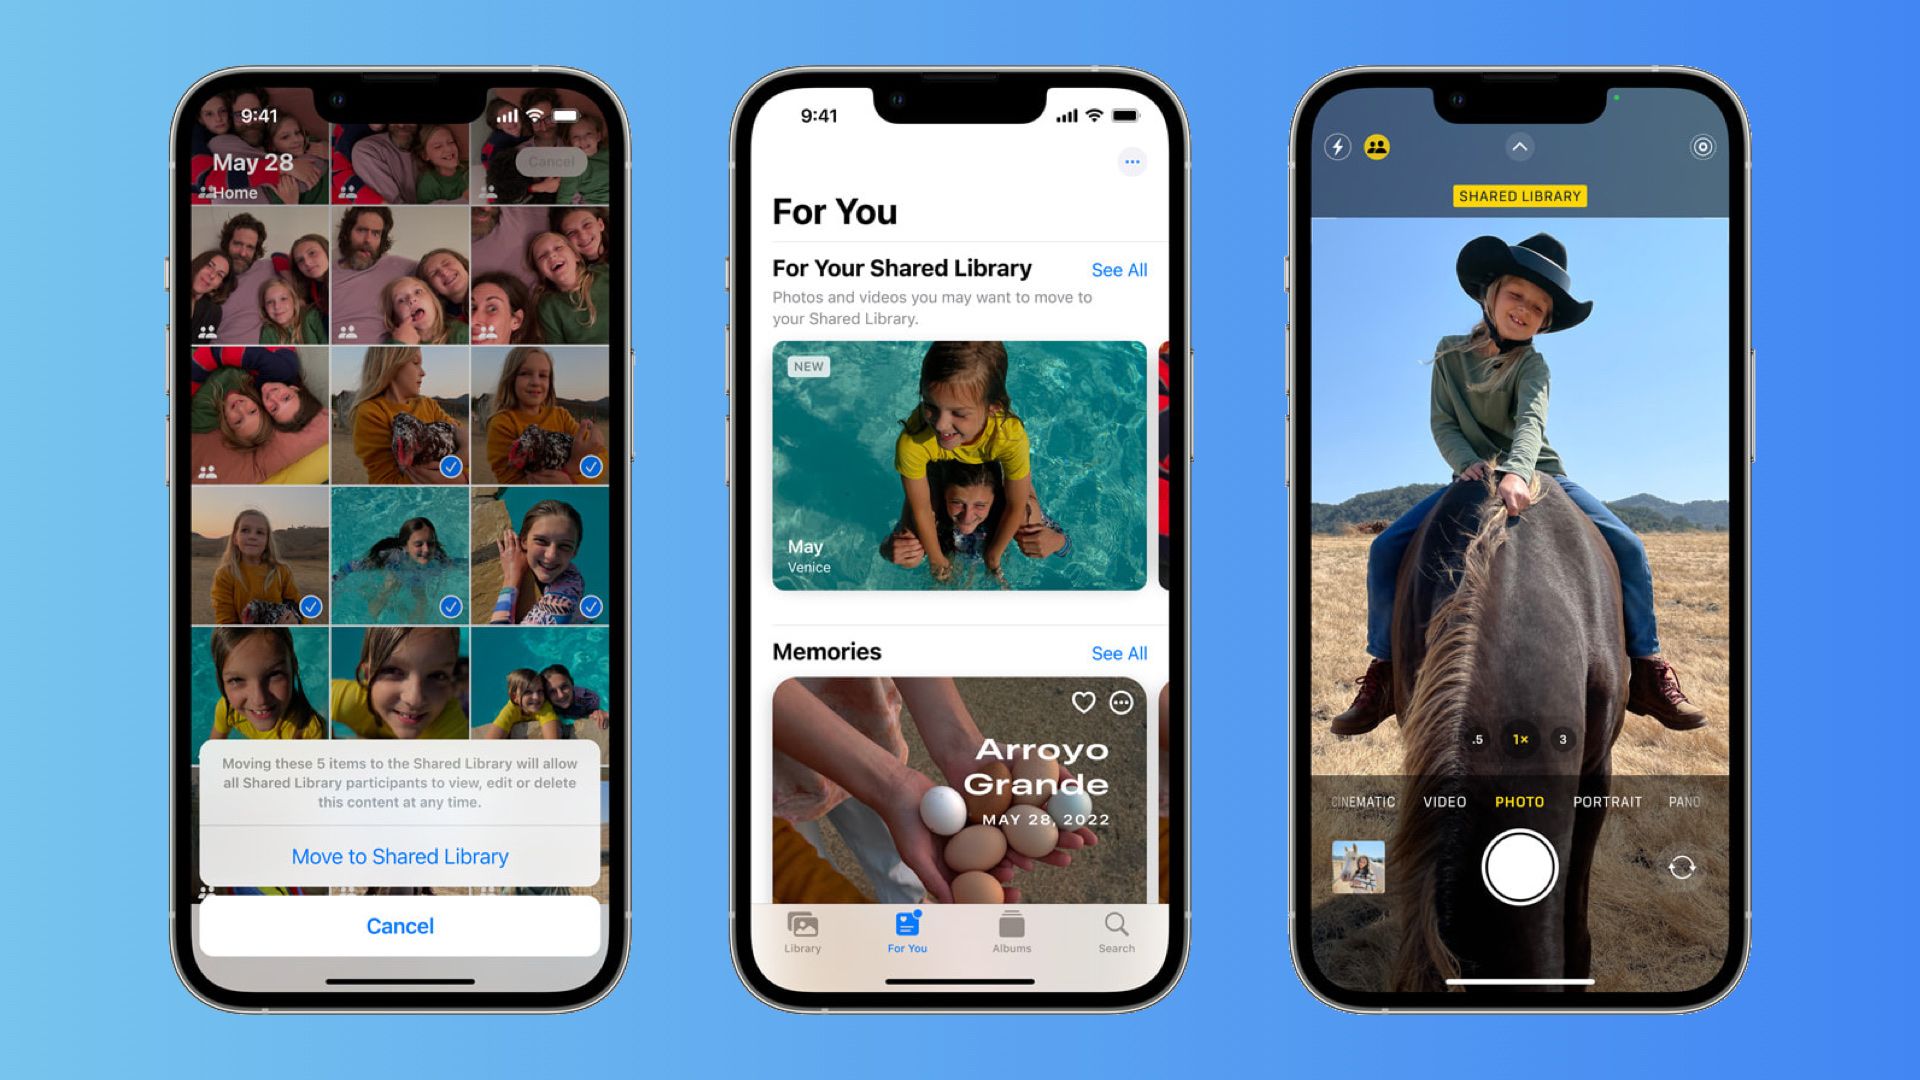
To explain in simple terms, iCloud Shared Photo Library is an easy way of sharing photos with your family and friends. Consider it as an advanced version of the Shared Albums feature that has been available in the Photos app for years now. With it, you can share pictures both automatically and manually from the Photos app. You can choose to share your entire library of photos or just a select few photos. Moreover, it even lets you share photos directly from the camera app.
Users will also receive “intelligent suggestions” to share photos that include participants in the Shared Photo Library, as per Apple. Every member of a shared library can add, edit, and delete photos or videos. Each participant has the same permissions, and there are no limitations. Photos and videos added to the Shared Library are separate from your Personal Library. Therefore, you can easily switch between the Shared Library, the Personal Library, or both in Photos for an unobtrusive experience.
Requirements to use iCloud Shared Photo Library
- This feature is available only on iPhones running iOS 16.1 or later. So, make sure to update your iPhone before using this feature.
- It is also available on Macs and iPads running macOS Ventura (or later) and iPadOS 16.1 (or later), respectively.
- Make sure that iCloud Photos is enabled in the settings. To turn this feature on, go to Settings → [Your name] → iCloud → Photos and turn on the toggle for Sync this iPhone.
- You can only join or create a shared library with people in your Family Sharing group if you’re under 13.
How to create an iCloud Shared Photo Library?
To create an iCloud Shared Photo Library, follow the steps mentioned below:
- Head over to the Settings app on your iPhone.
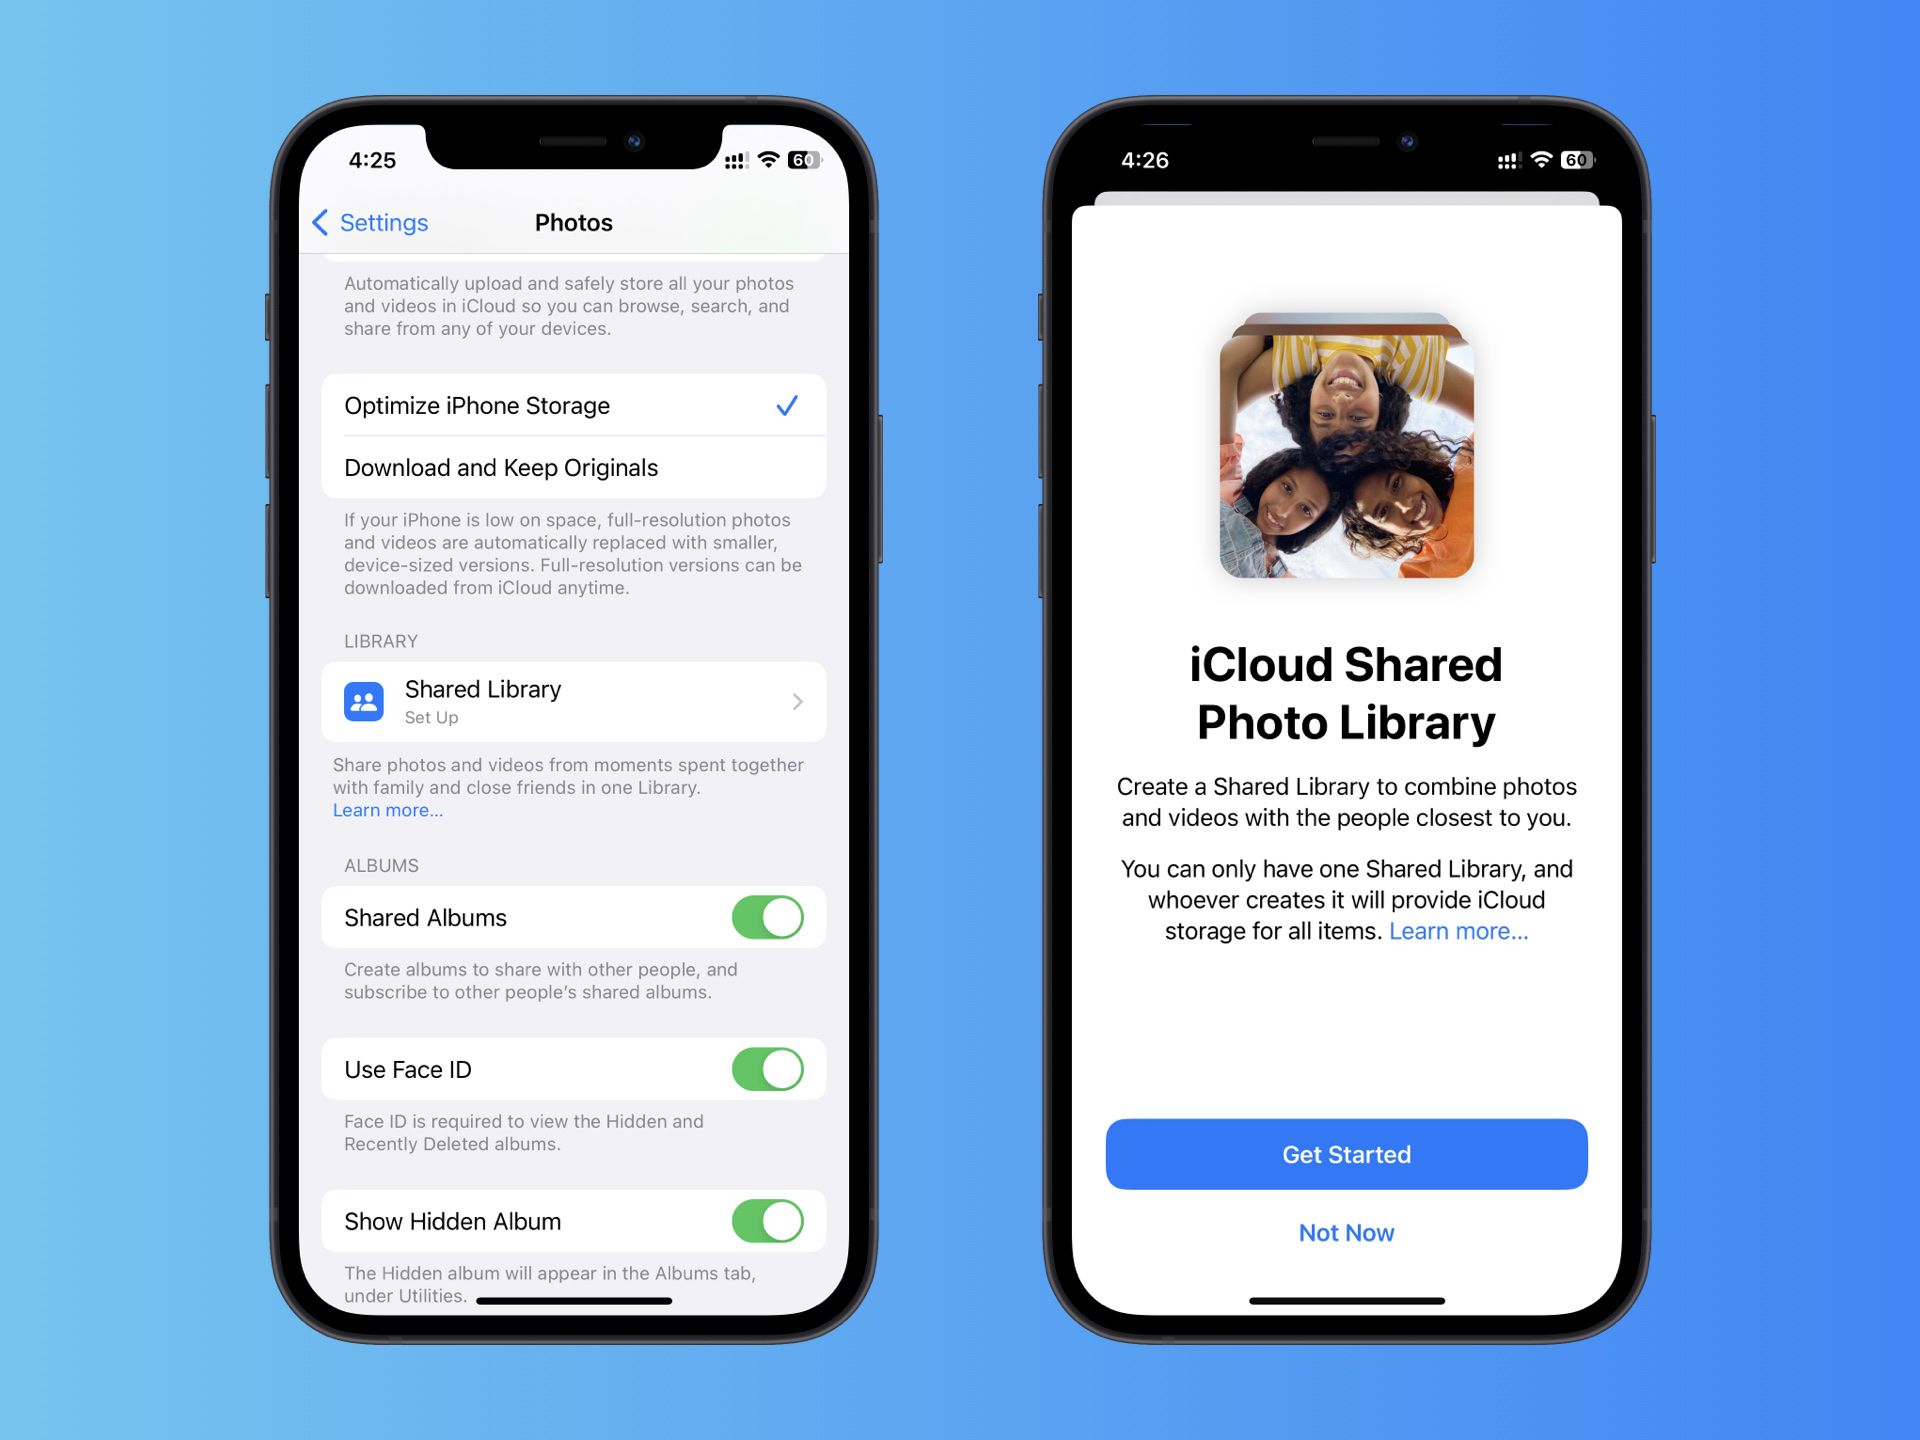
- Scroll down and select Photos.
- Photos’ Settings, under the Library option, tap on Shared Library.
- Now select Get Started and then select the people (up to five) that you want to add to the library. You can also choose to skip this step and add people later.
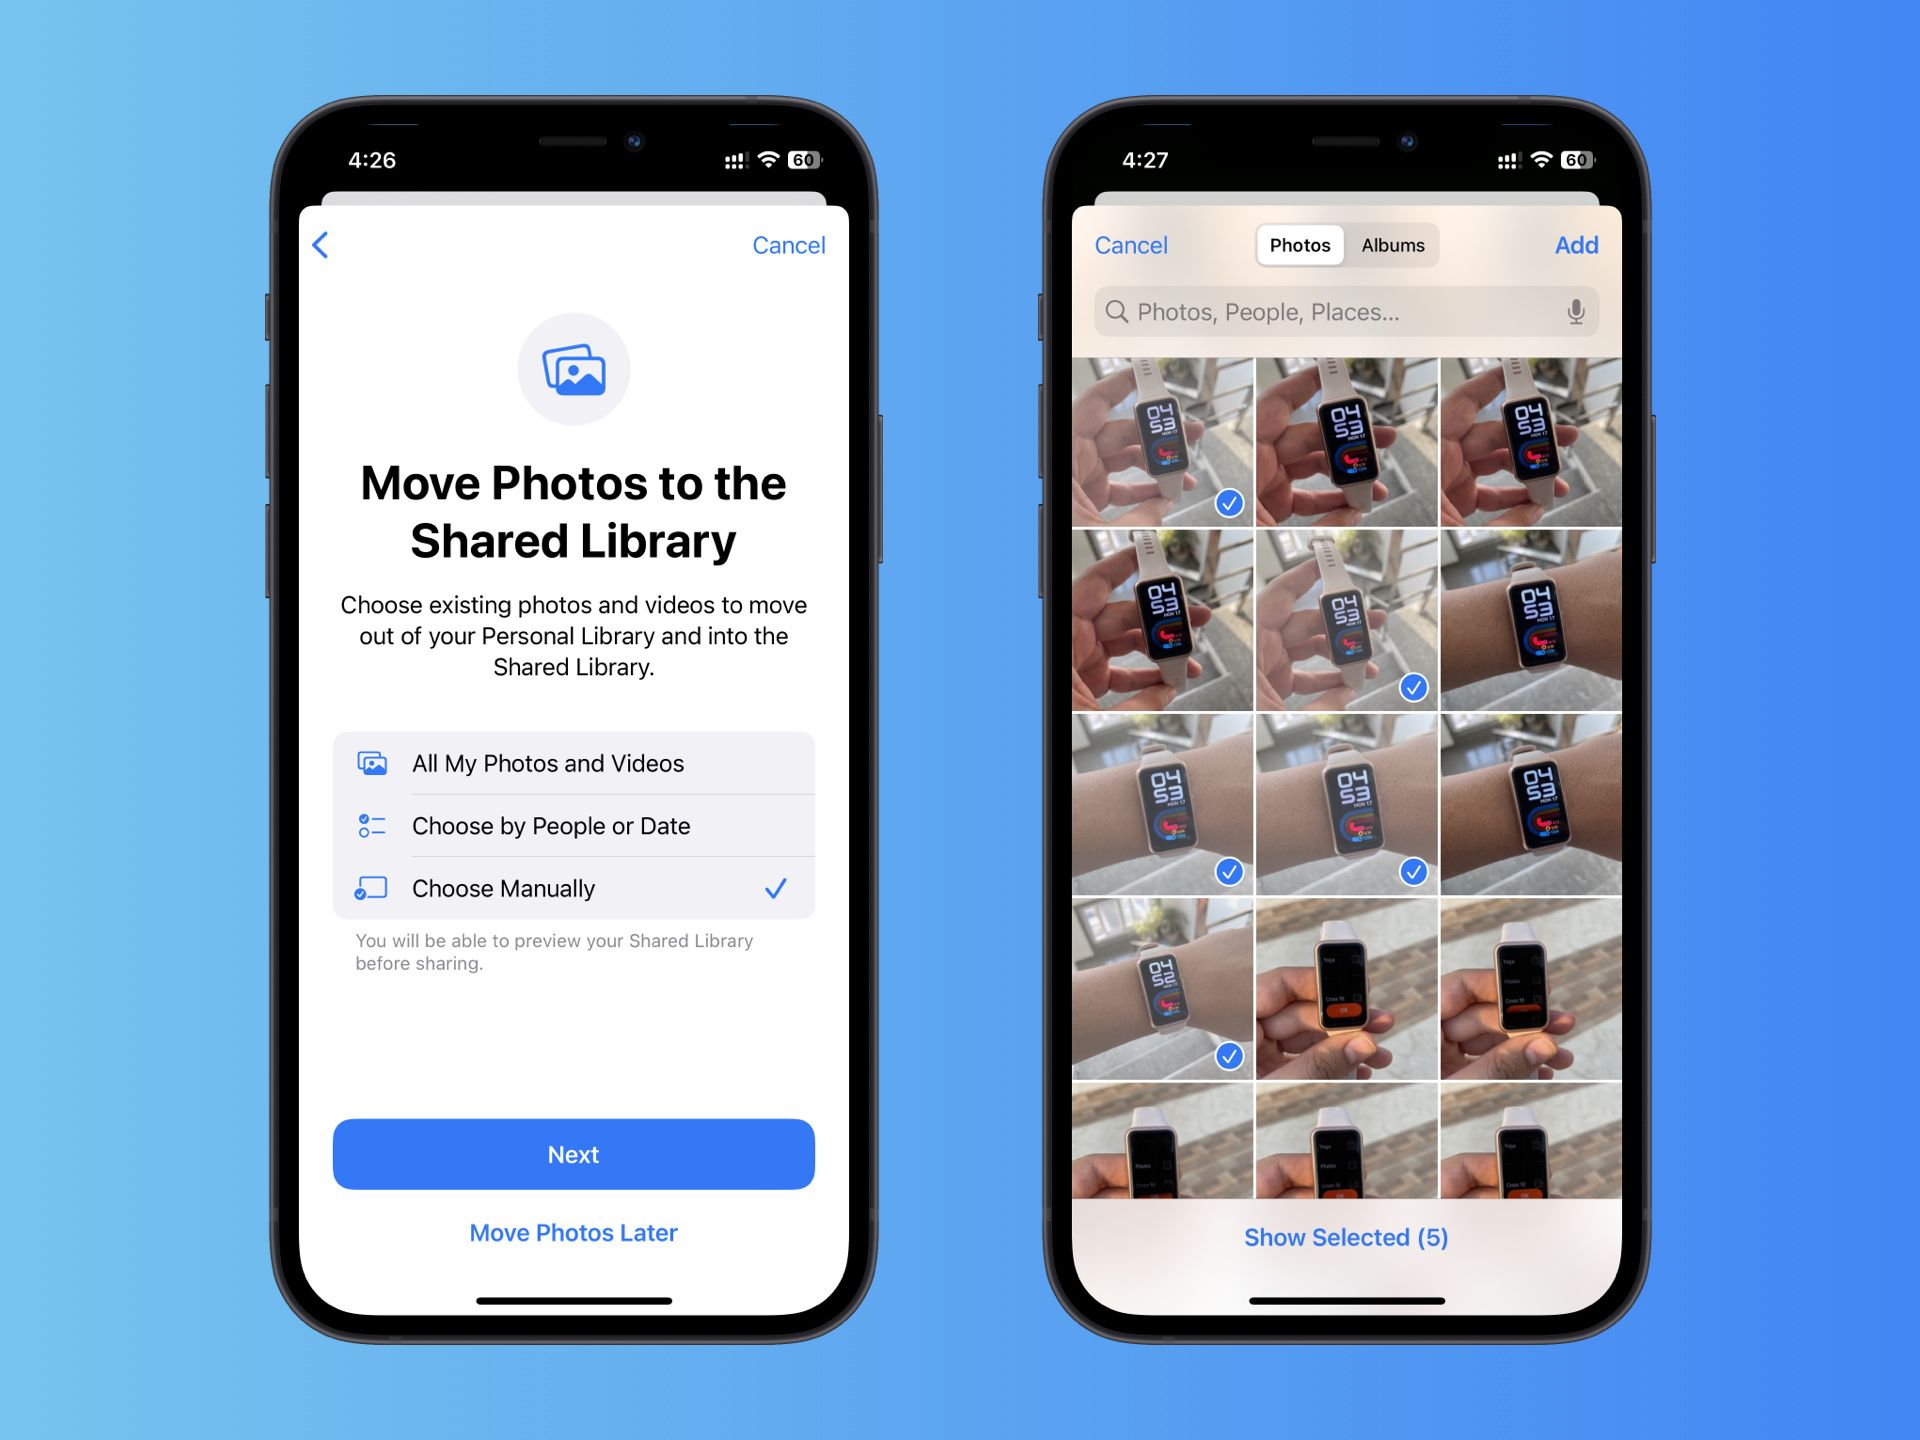
- Now you will be given the option to select the photos that you want to add to the Shared Library. You can choose to share all the photos in your library, pick photos by the dates taken or people featured, or manually select photos.
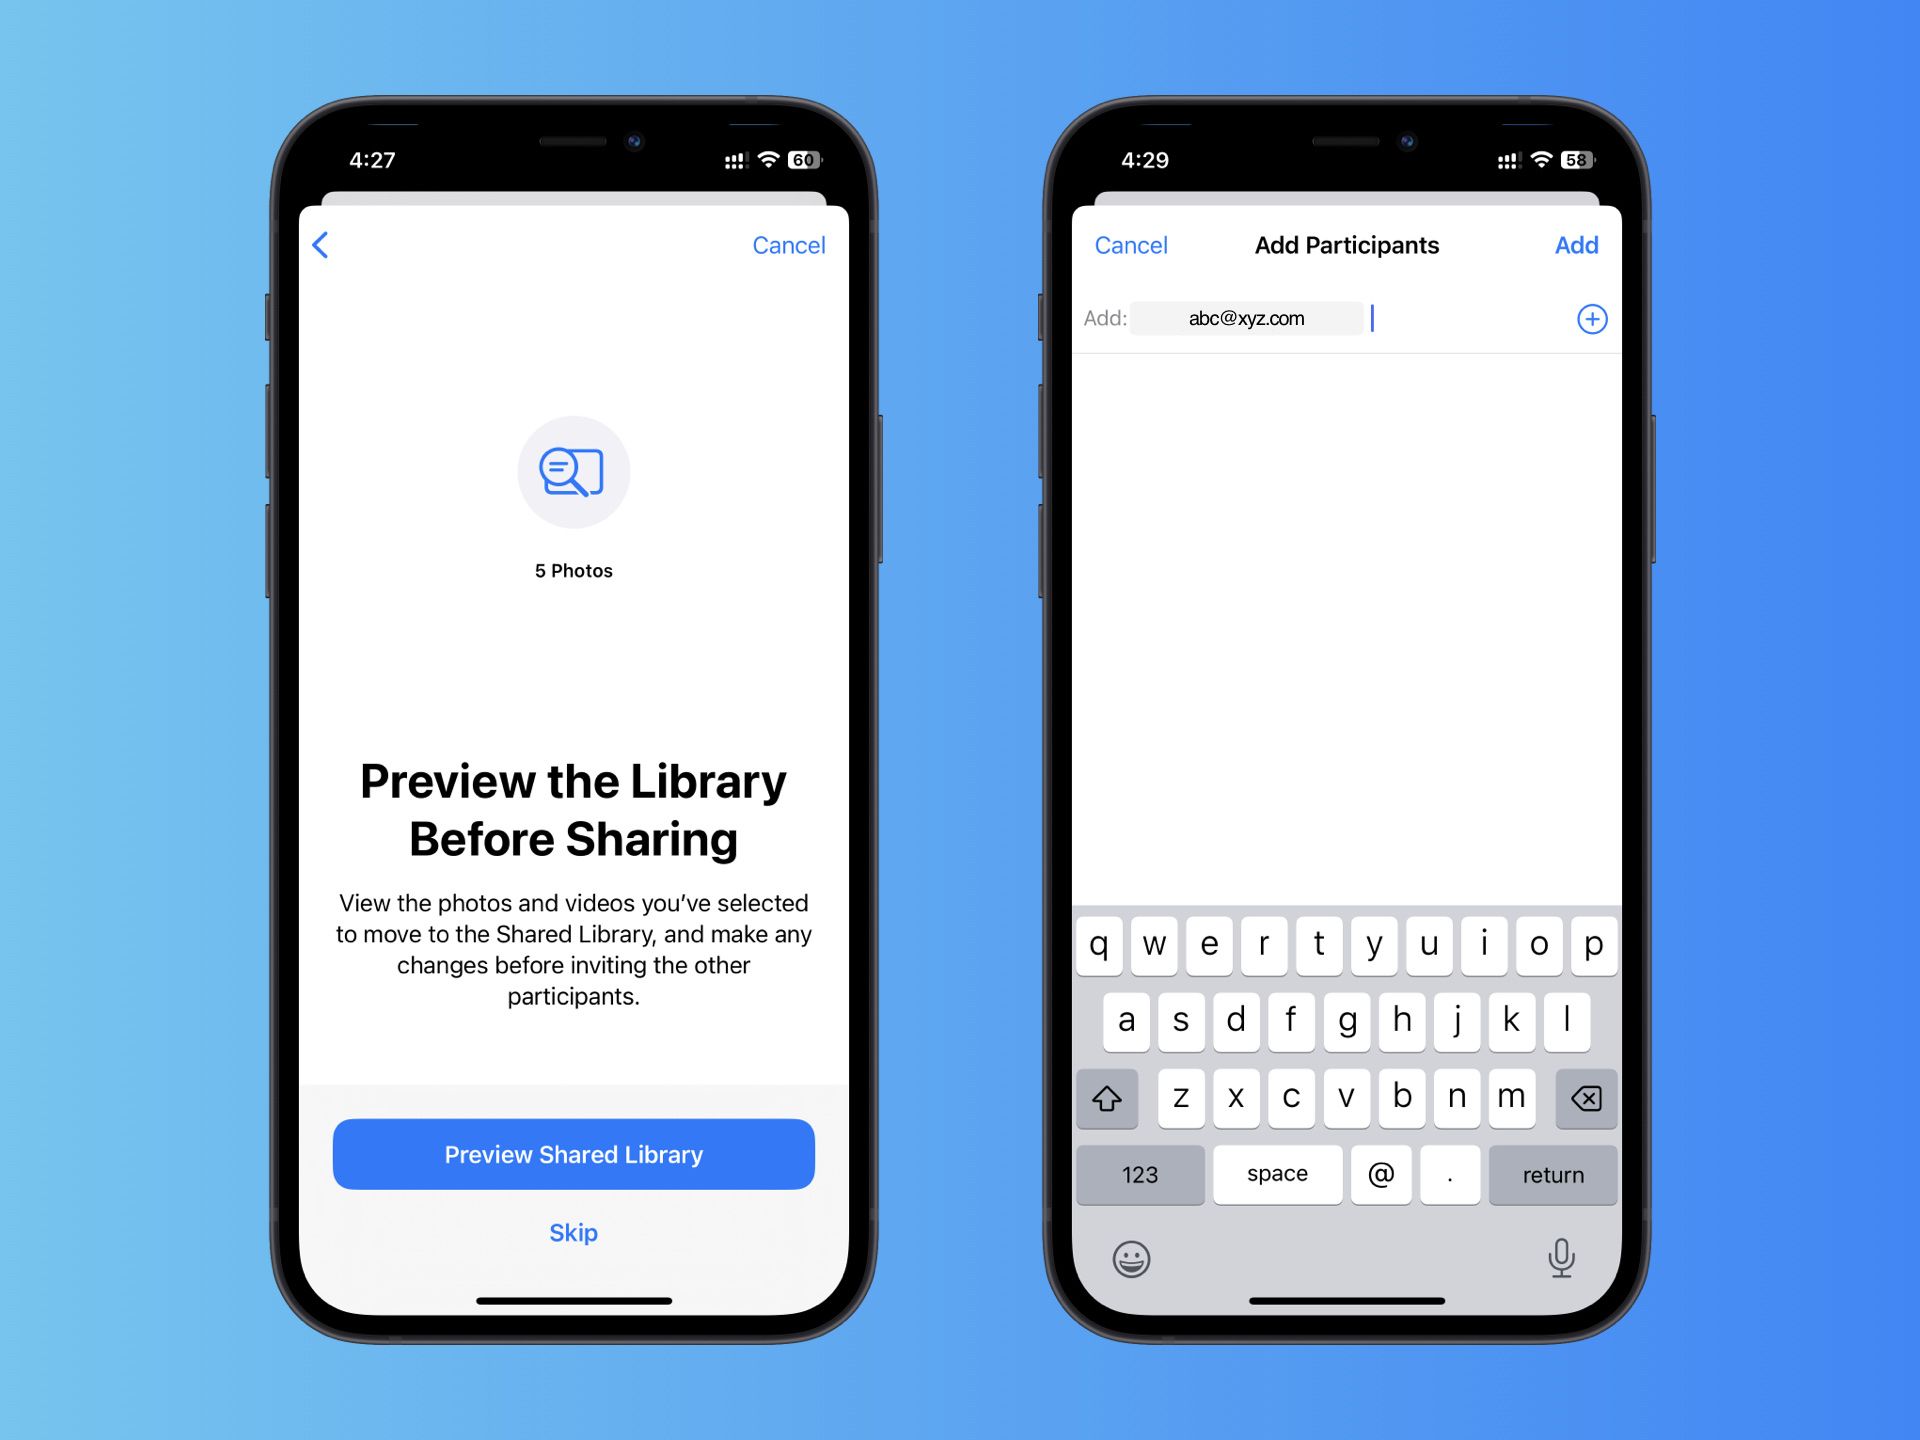
- Once you have selected the desired photos, you can opt to Preview Shared Library or select Skip and Continue.
- Now is the time to invite participants to your Shared Library. Select Invite via Messages to invite people to join your Library, or tap Share Link to use other apps to invite them, such as WhatsApp, Telegram, or Gmail.
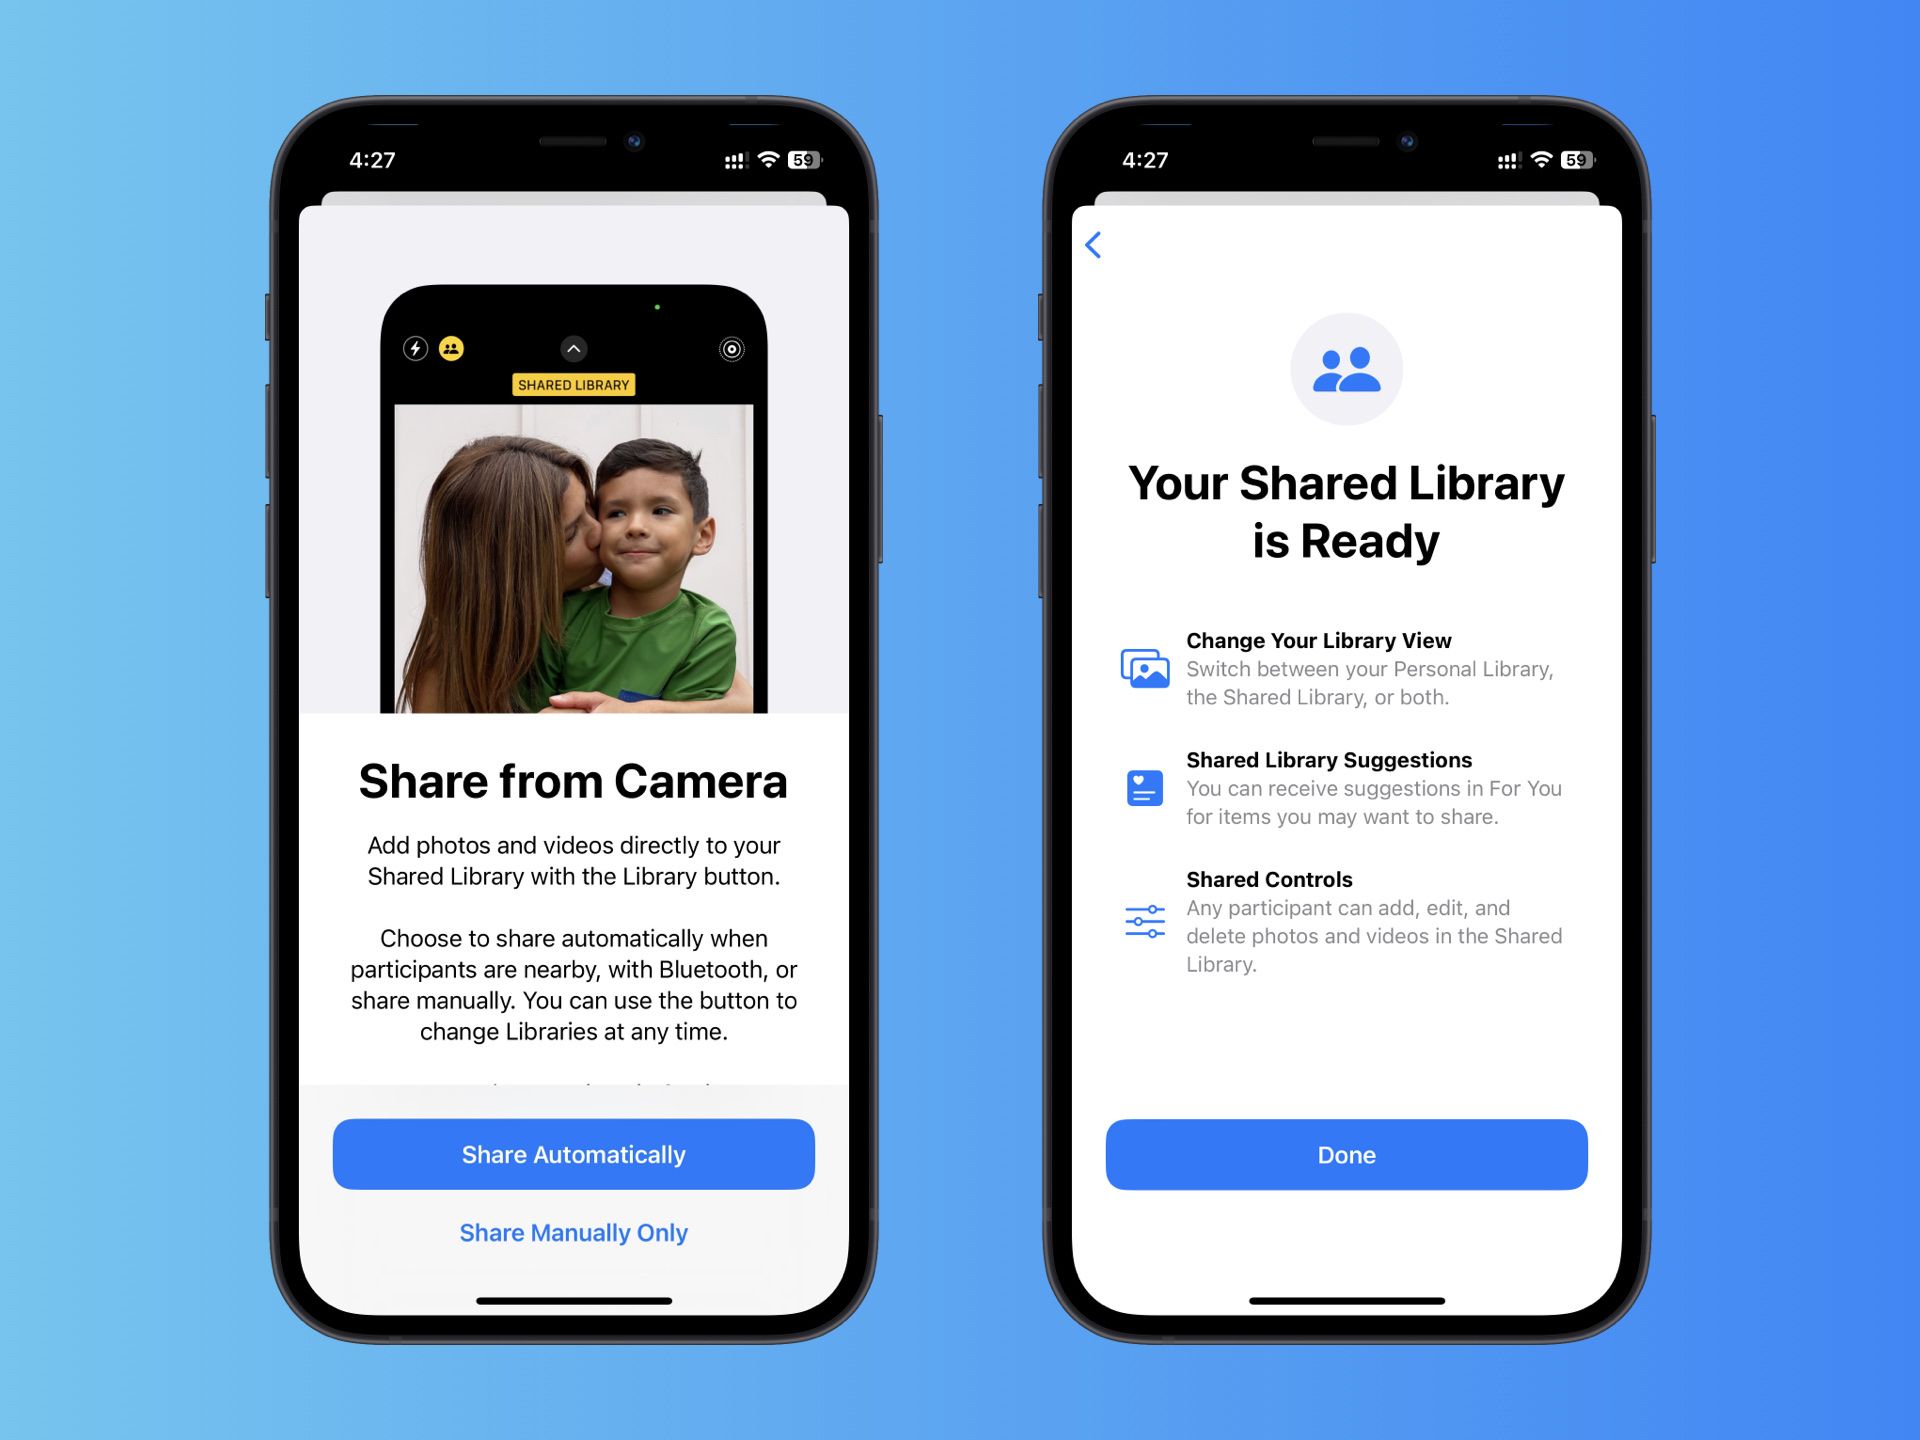
- On the next screen, you can opt to share photos from your camera Automatically or Manually Only.
- Once everything is done, you’ll get a prompt saying Your Shared Library is Ready.
Once your iCloud Shared Photo Library is set up, you can make manage it via the Photos section of the Settings app. You add/remove users, turn on and off Shared Library Suggestions, enable/disable notifications, and more.
How to join an iCloud Shared Photo Library?
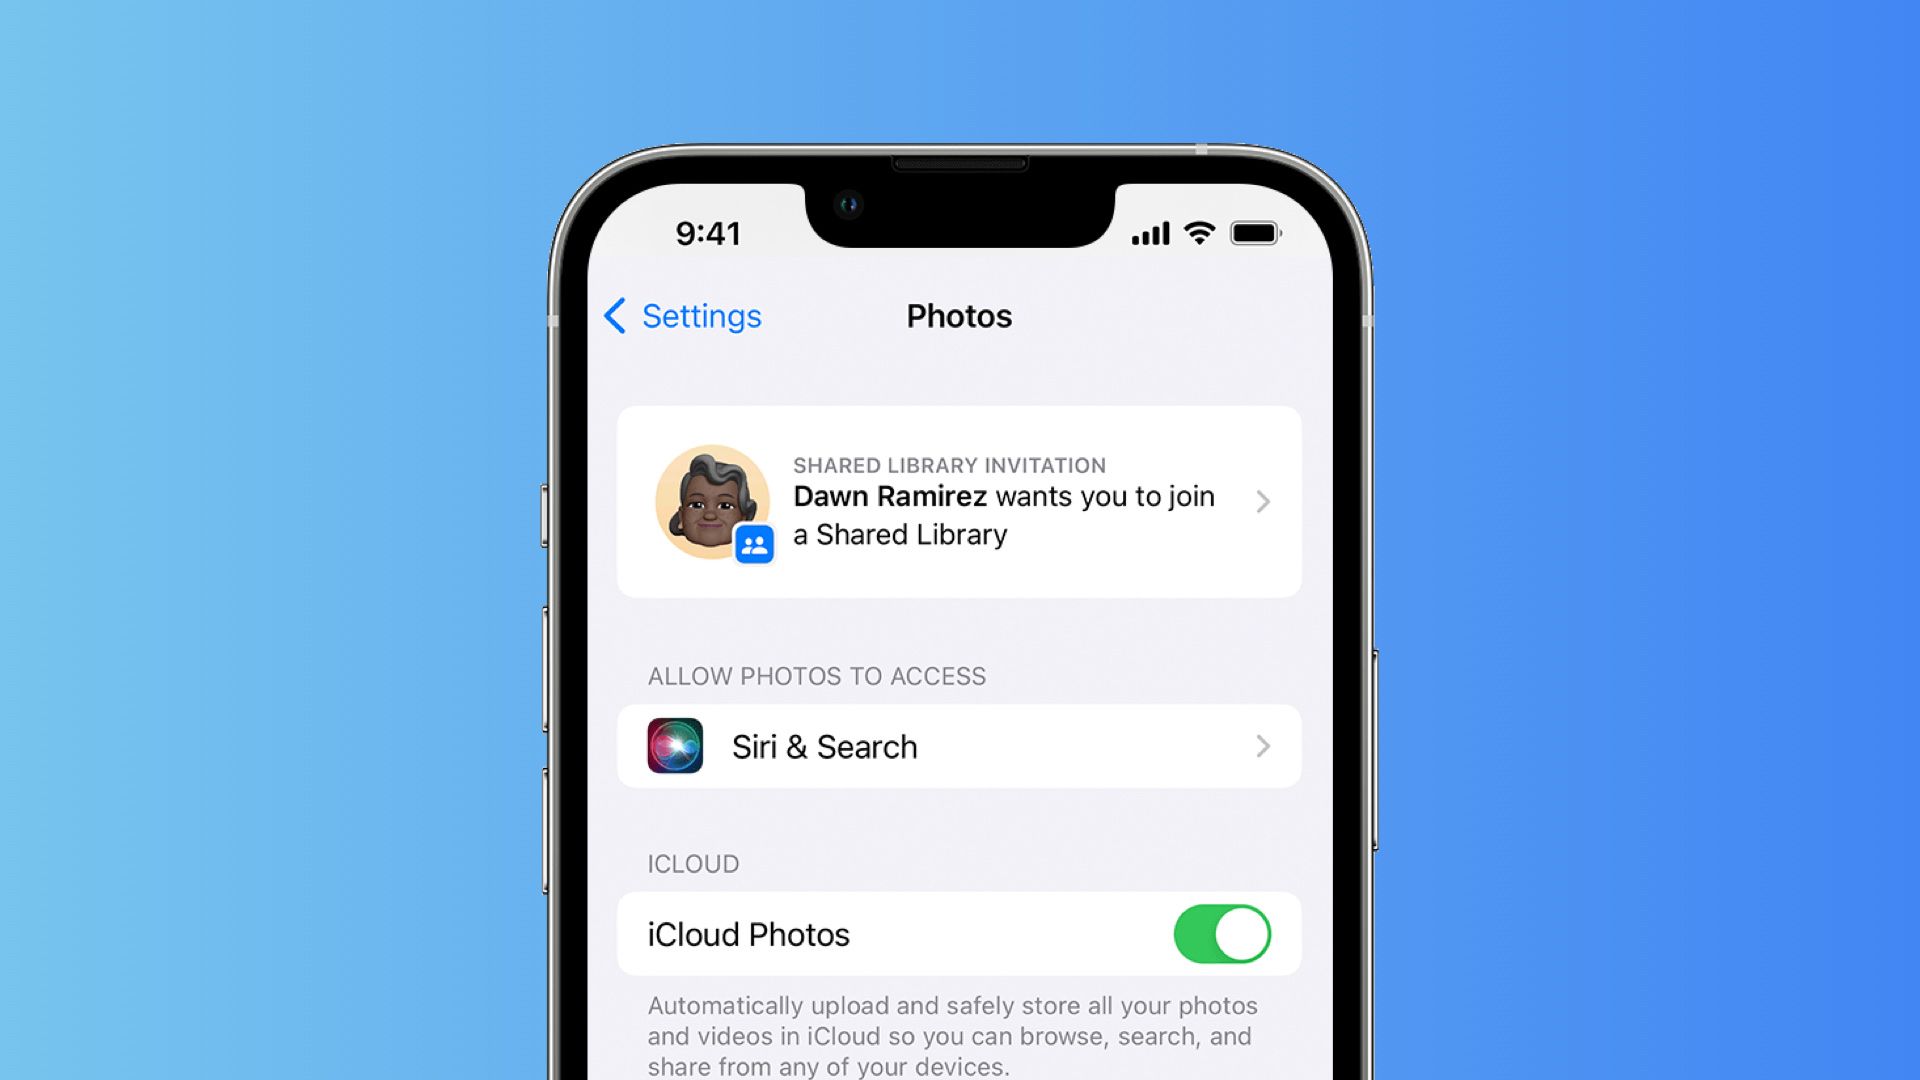
To join a Shared Library, you can either accept the invitation from the Messages app. Otherwise, you can also head over to Settings → Photos and accept the invitation from there. Once you tap the invitation, select Accept & Continue. Follow the onscreen steps to join a Shared Photo Library.
iCloud Shared Photo Library: Features and Functions
Sharing Photos From the Camera App Directly
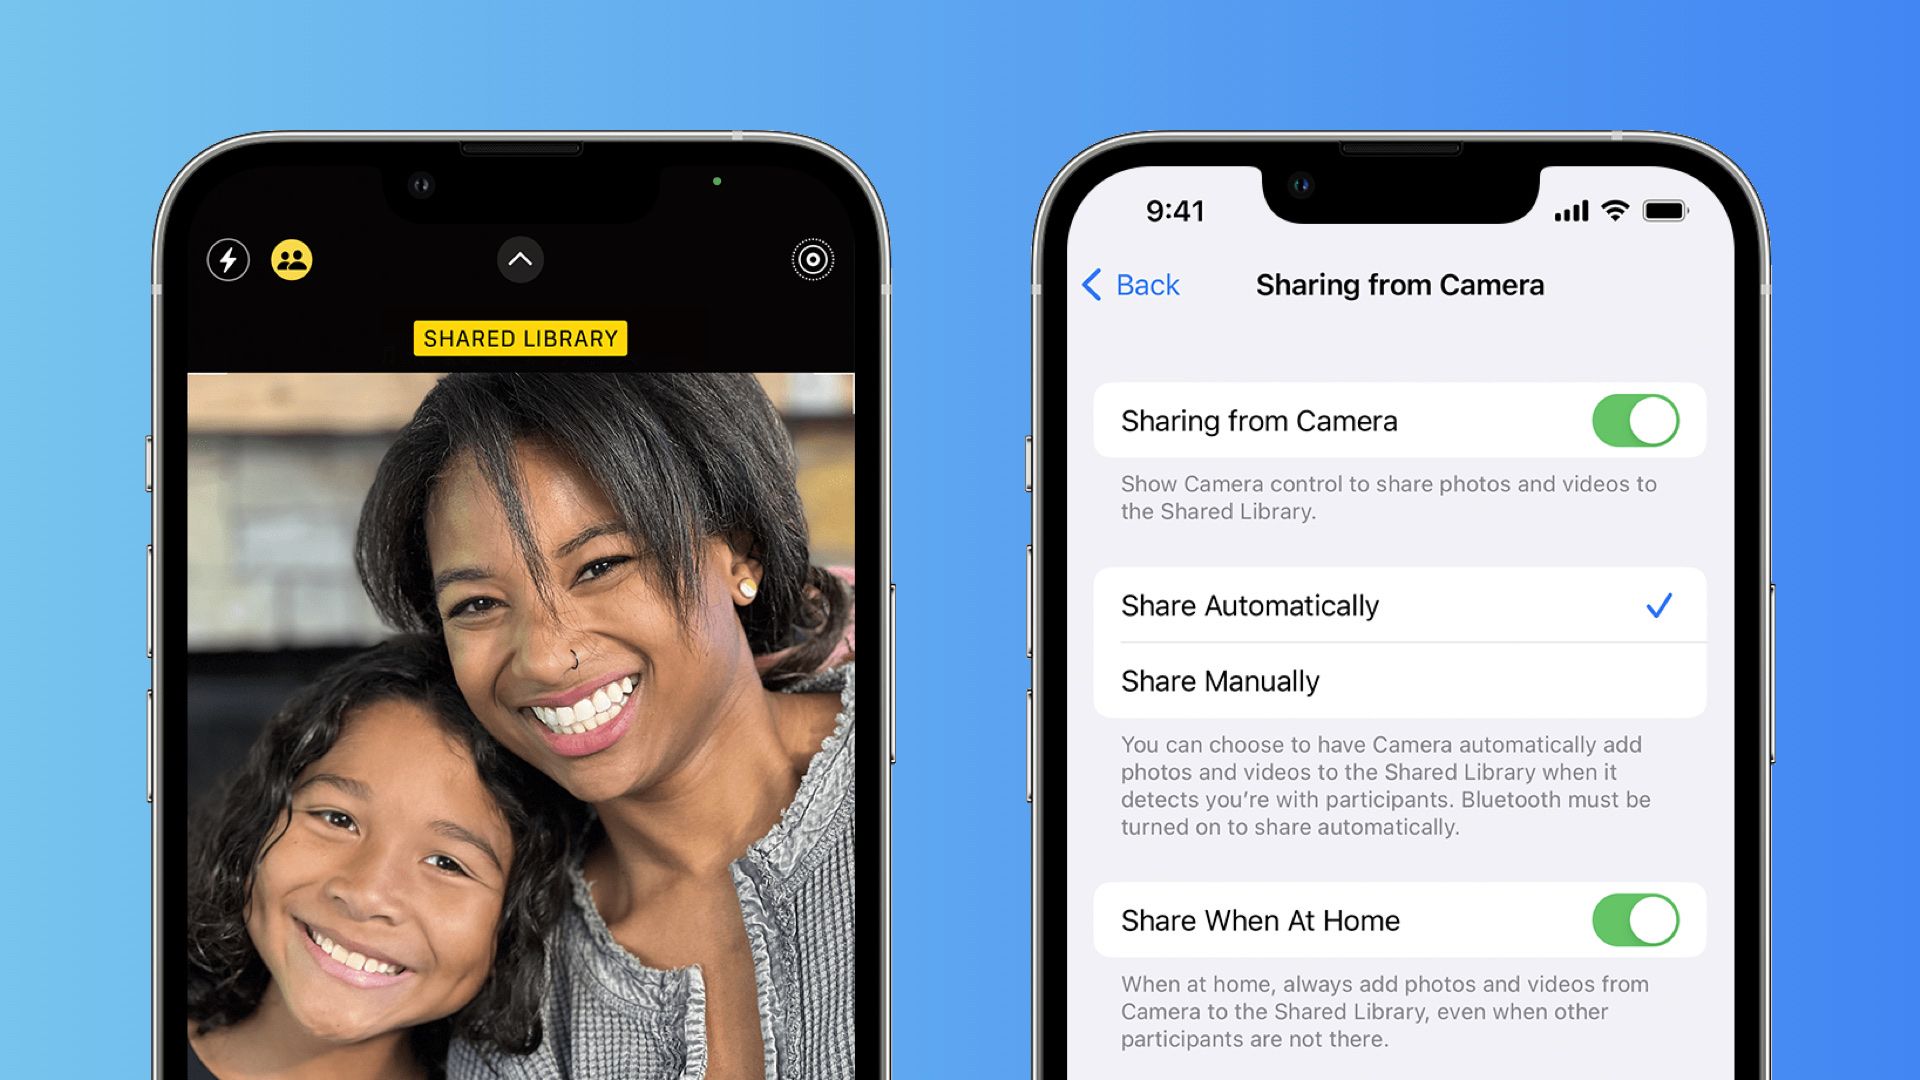
One of the best features of Shared Photo Library is that you can share photos directly from the Camera app. When the option is enabled, an icon will appear next to the flash button in the Camera app. This will make all of your captured photos instantly available on the devices of the participants. You can choose to share photos Automatically (it shares photos when you’re close to the participants) or Manually. The option to Share When At Home will add photos to the Shared Library even when the other participants are not nearby.
Switch Between Views
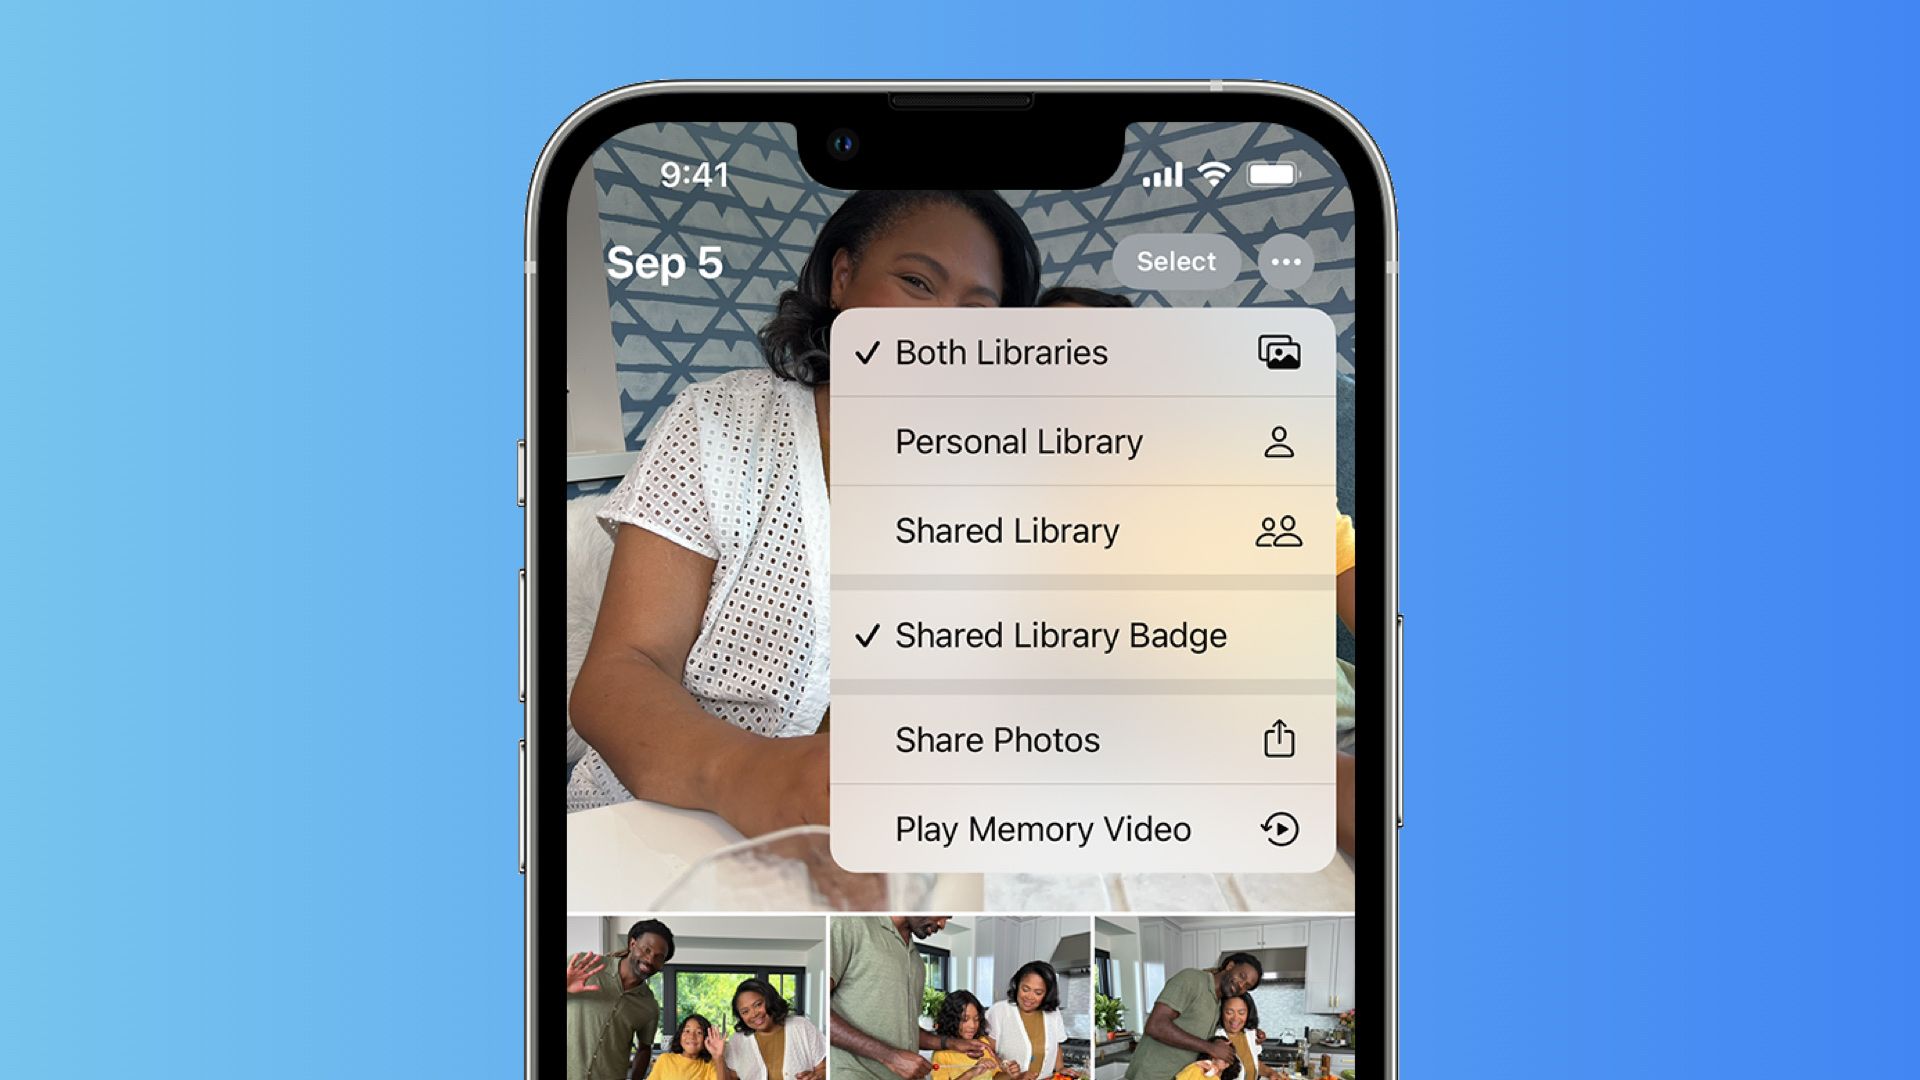
Participating in a Shared Library can lead to thousands of photos making their way to your iPhone on a daily basis. While this is sometimes useful, sometimes it just causes a lot of clutter in your Photos app. Thankfully, Apple allows you to switch between different your Personal Photo Library view and Shared Library view. To switch between different views, tap the three-dot icon next to the Select button in the upper right-hand corner of the Photos app.
Limitations
While the feature seems useful, there are some limitations that you need to keep in mind:
- You can share an iCloud Library with only up to five other people.
- The iCloud storage space of the person who creates a Shared Library (or host) will be used.
- You can only participate in one iCloud Shared Photo Library at a time.
- If you exit a Shared Library after being there for only seven days, you have access to the photos and videos you contributed.
How to leave a Shared Library?
If you no longer wish to be a participant of a particular iCloud Shared Library, or if you want to remove/delete your own shared library, then follow the steps mentioned down below.
If you’re a part of someone else’s library:
- Head over to Settings → Photos → Shared Library.
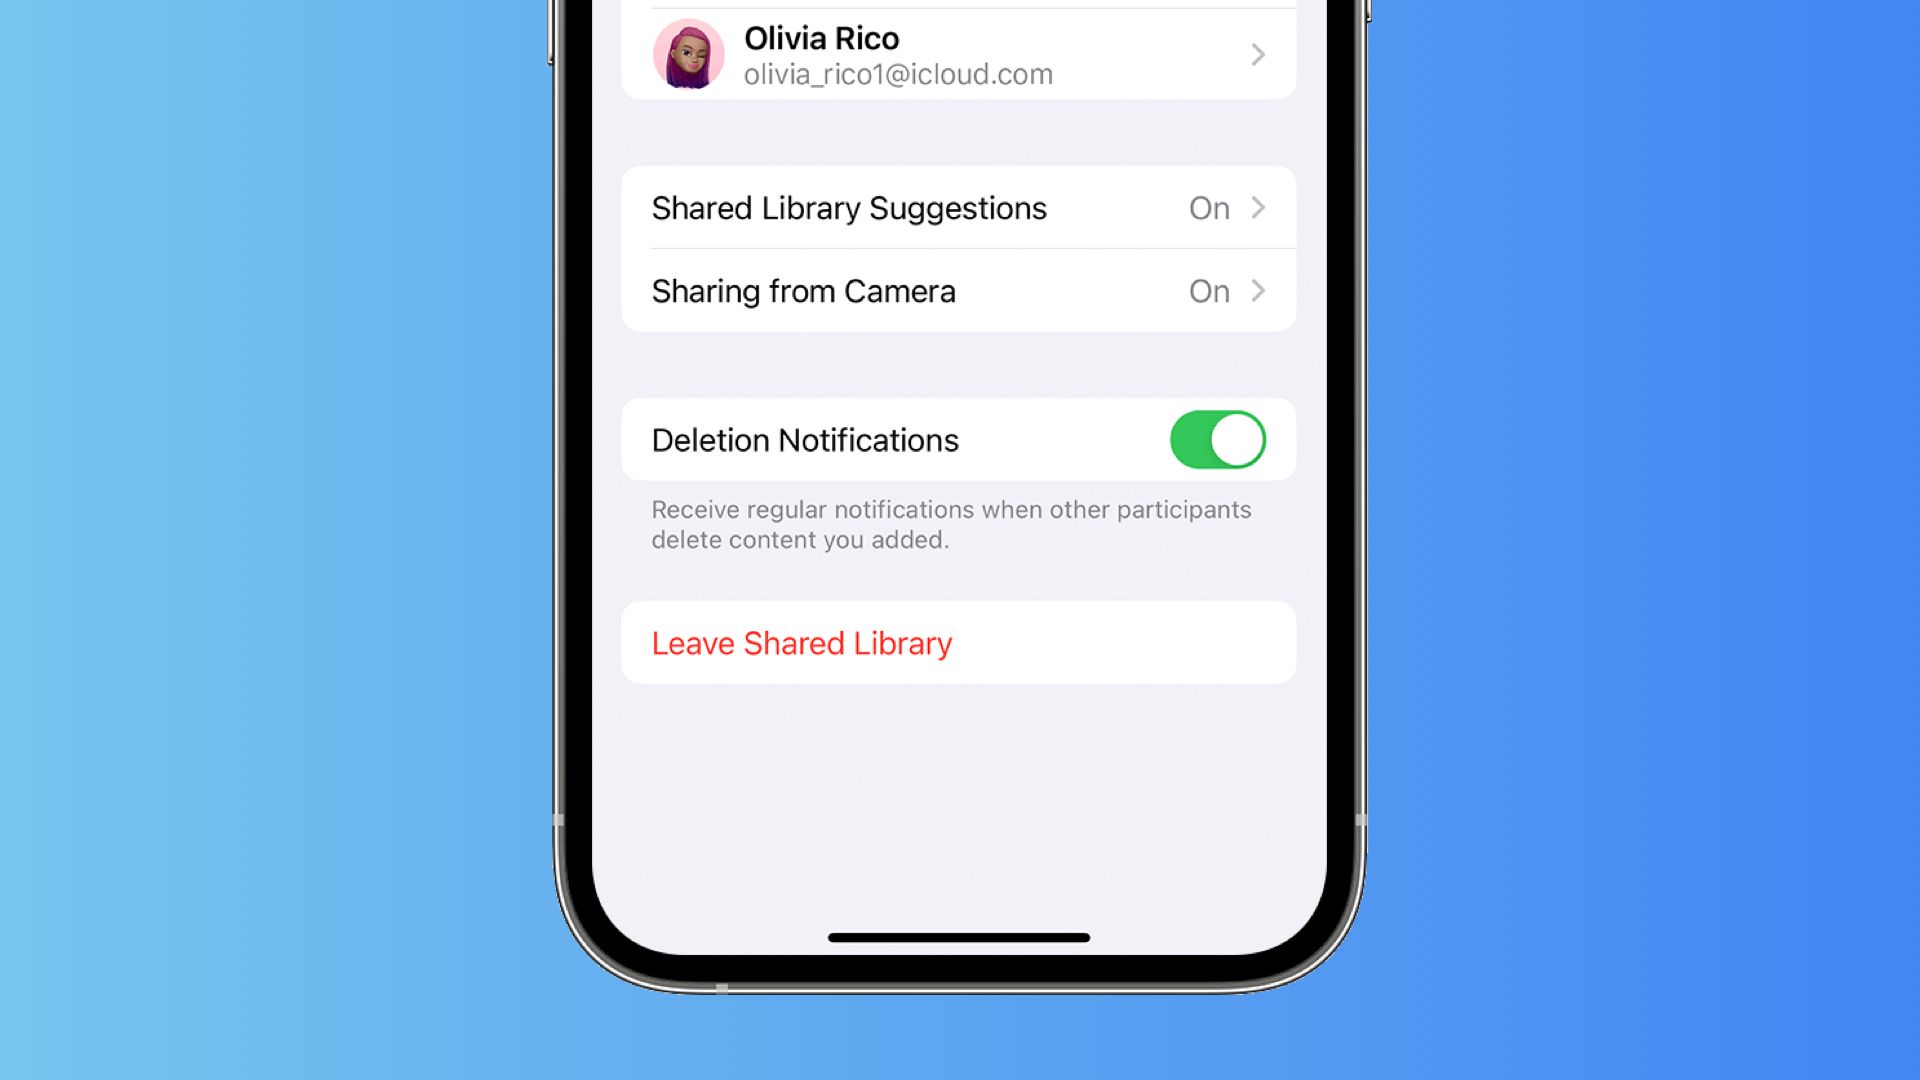
- Now tap on the button that says Leave Shared Library.
- In the next step, you will have the option to copy everything from your Shared Library into your Personal Library or to copy only your own content.
Remove a participant from a Shared Library you own:
- Open Settings → Photos → Shared Library.
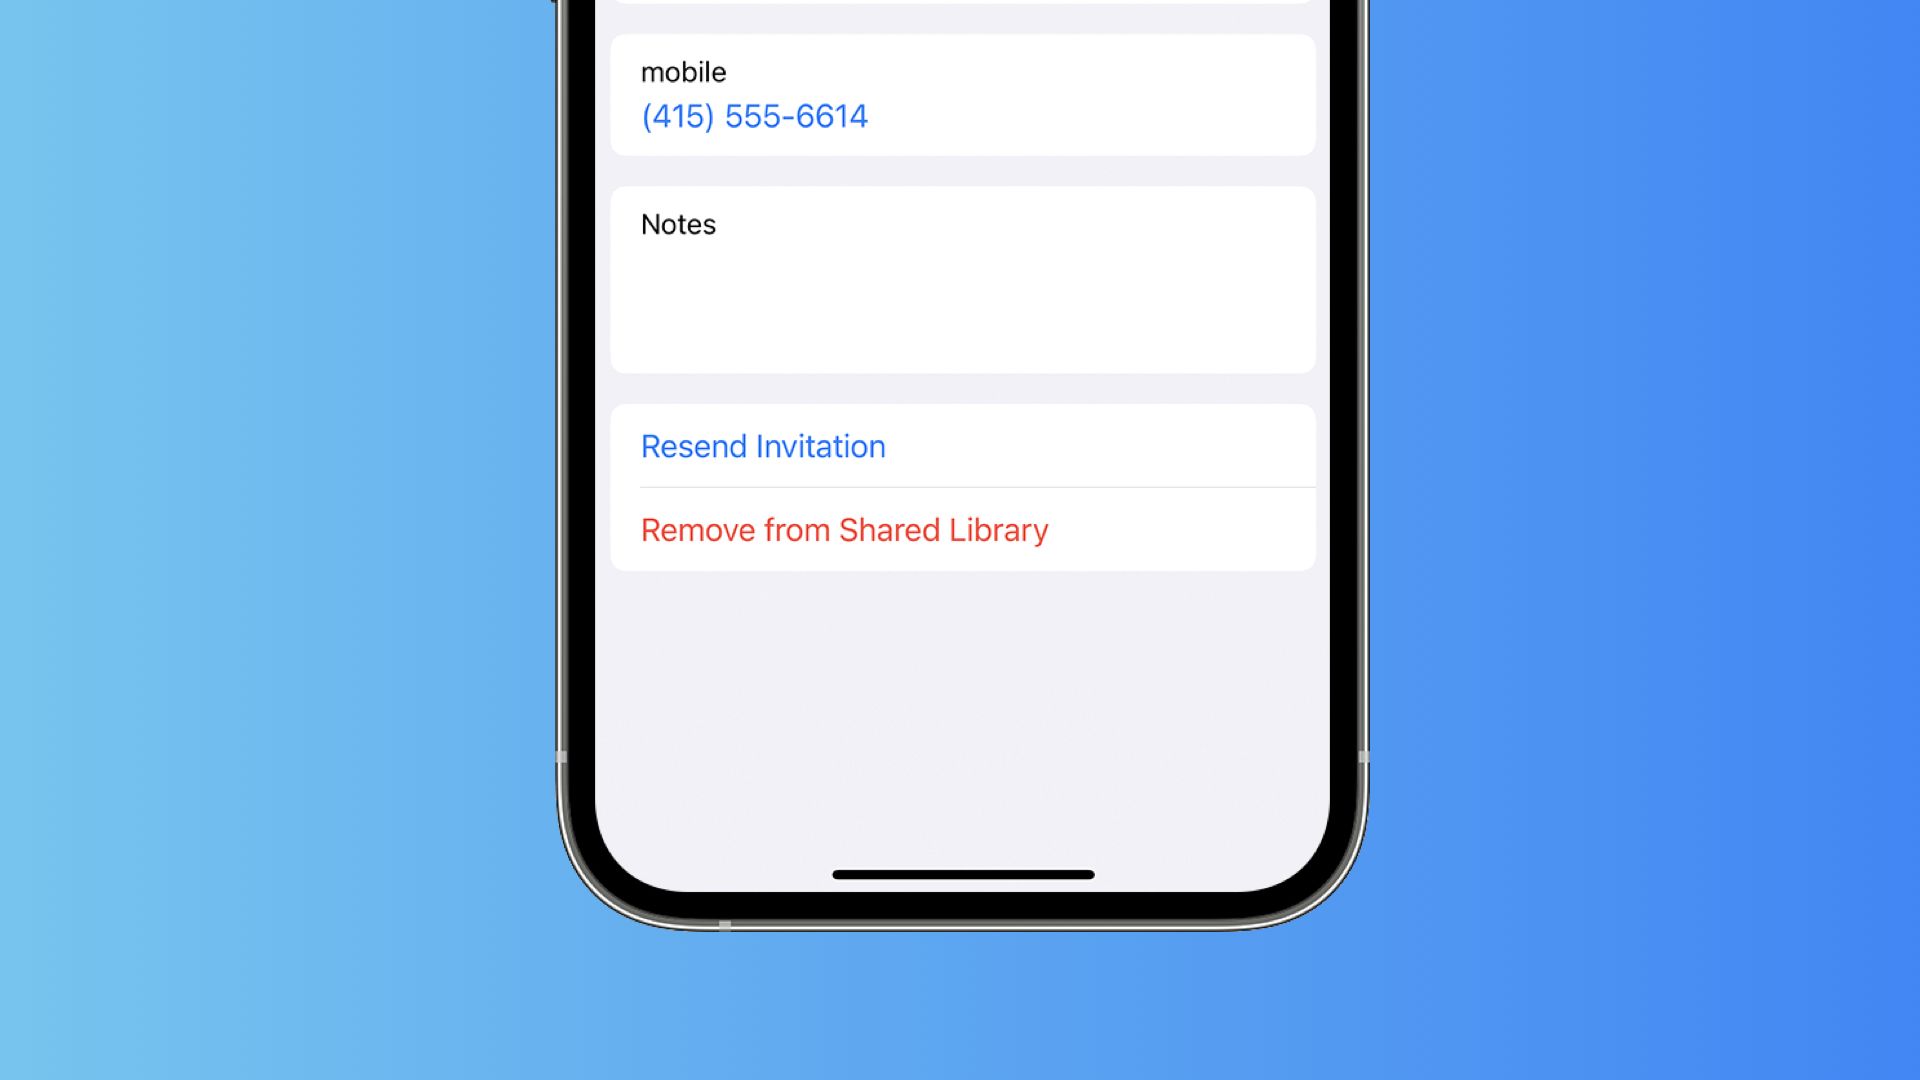
- Tap on the name of the participant that you want to remove.
- Now, select Remove from Shared Library.
Delete your Shared Library:
- Go to Settings → Photos → Shared Library.
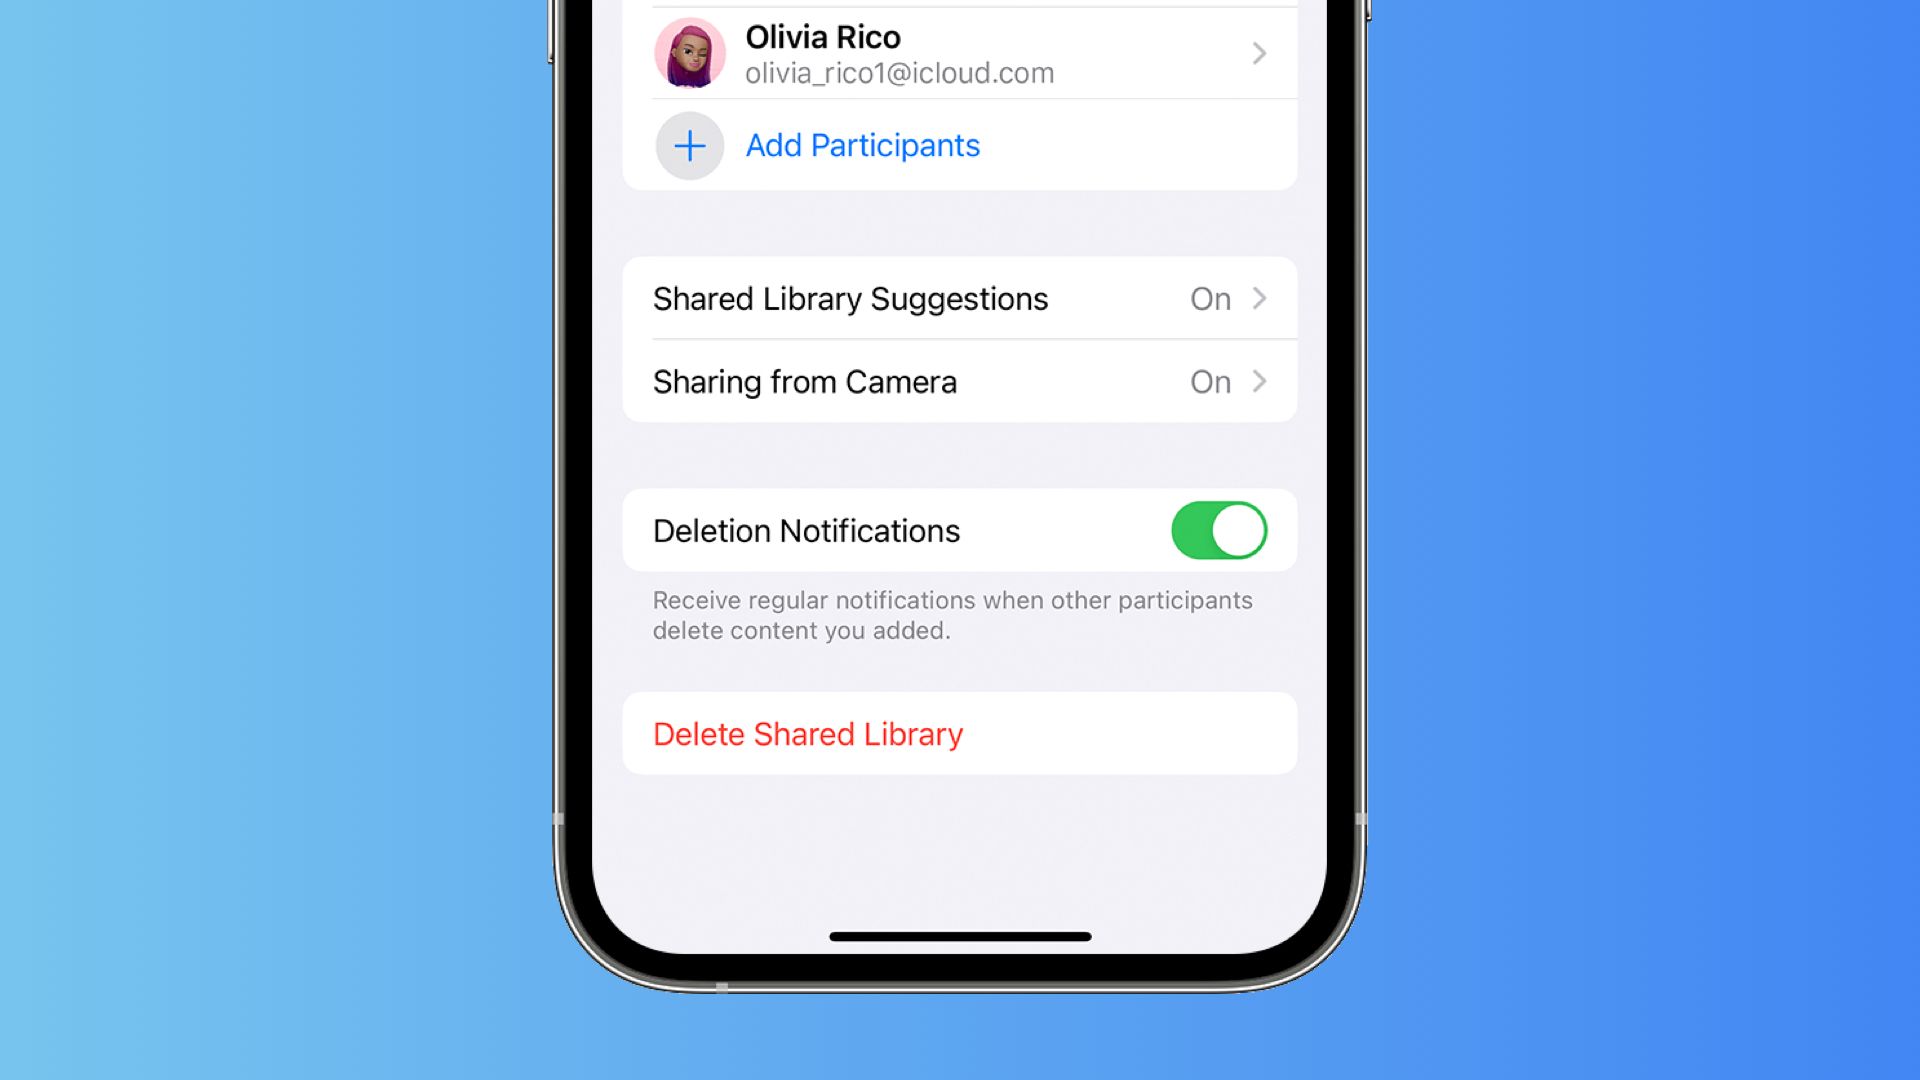
- Scroll all the way to the bottom and select Delete Shared Library.
- In the next step, you will have the option to copy everything from your Shared Library into your Personal Library or to copy only your own content.
- Furthermore, all the participants will receive a notification on their iPhones that the library has been deleted.
On the whole, iCloud Shared Photo Library is a powerful photo-sharing tool. If you have any questions/doubts about this or know a feature that we left out, then make sure to drop a comment down below!
Check out these amazing Apple devices!
-
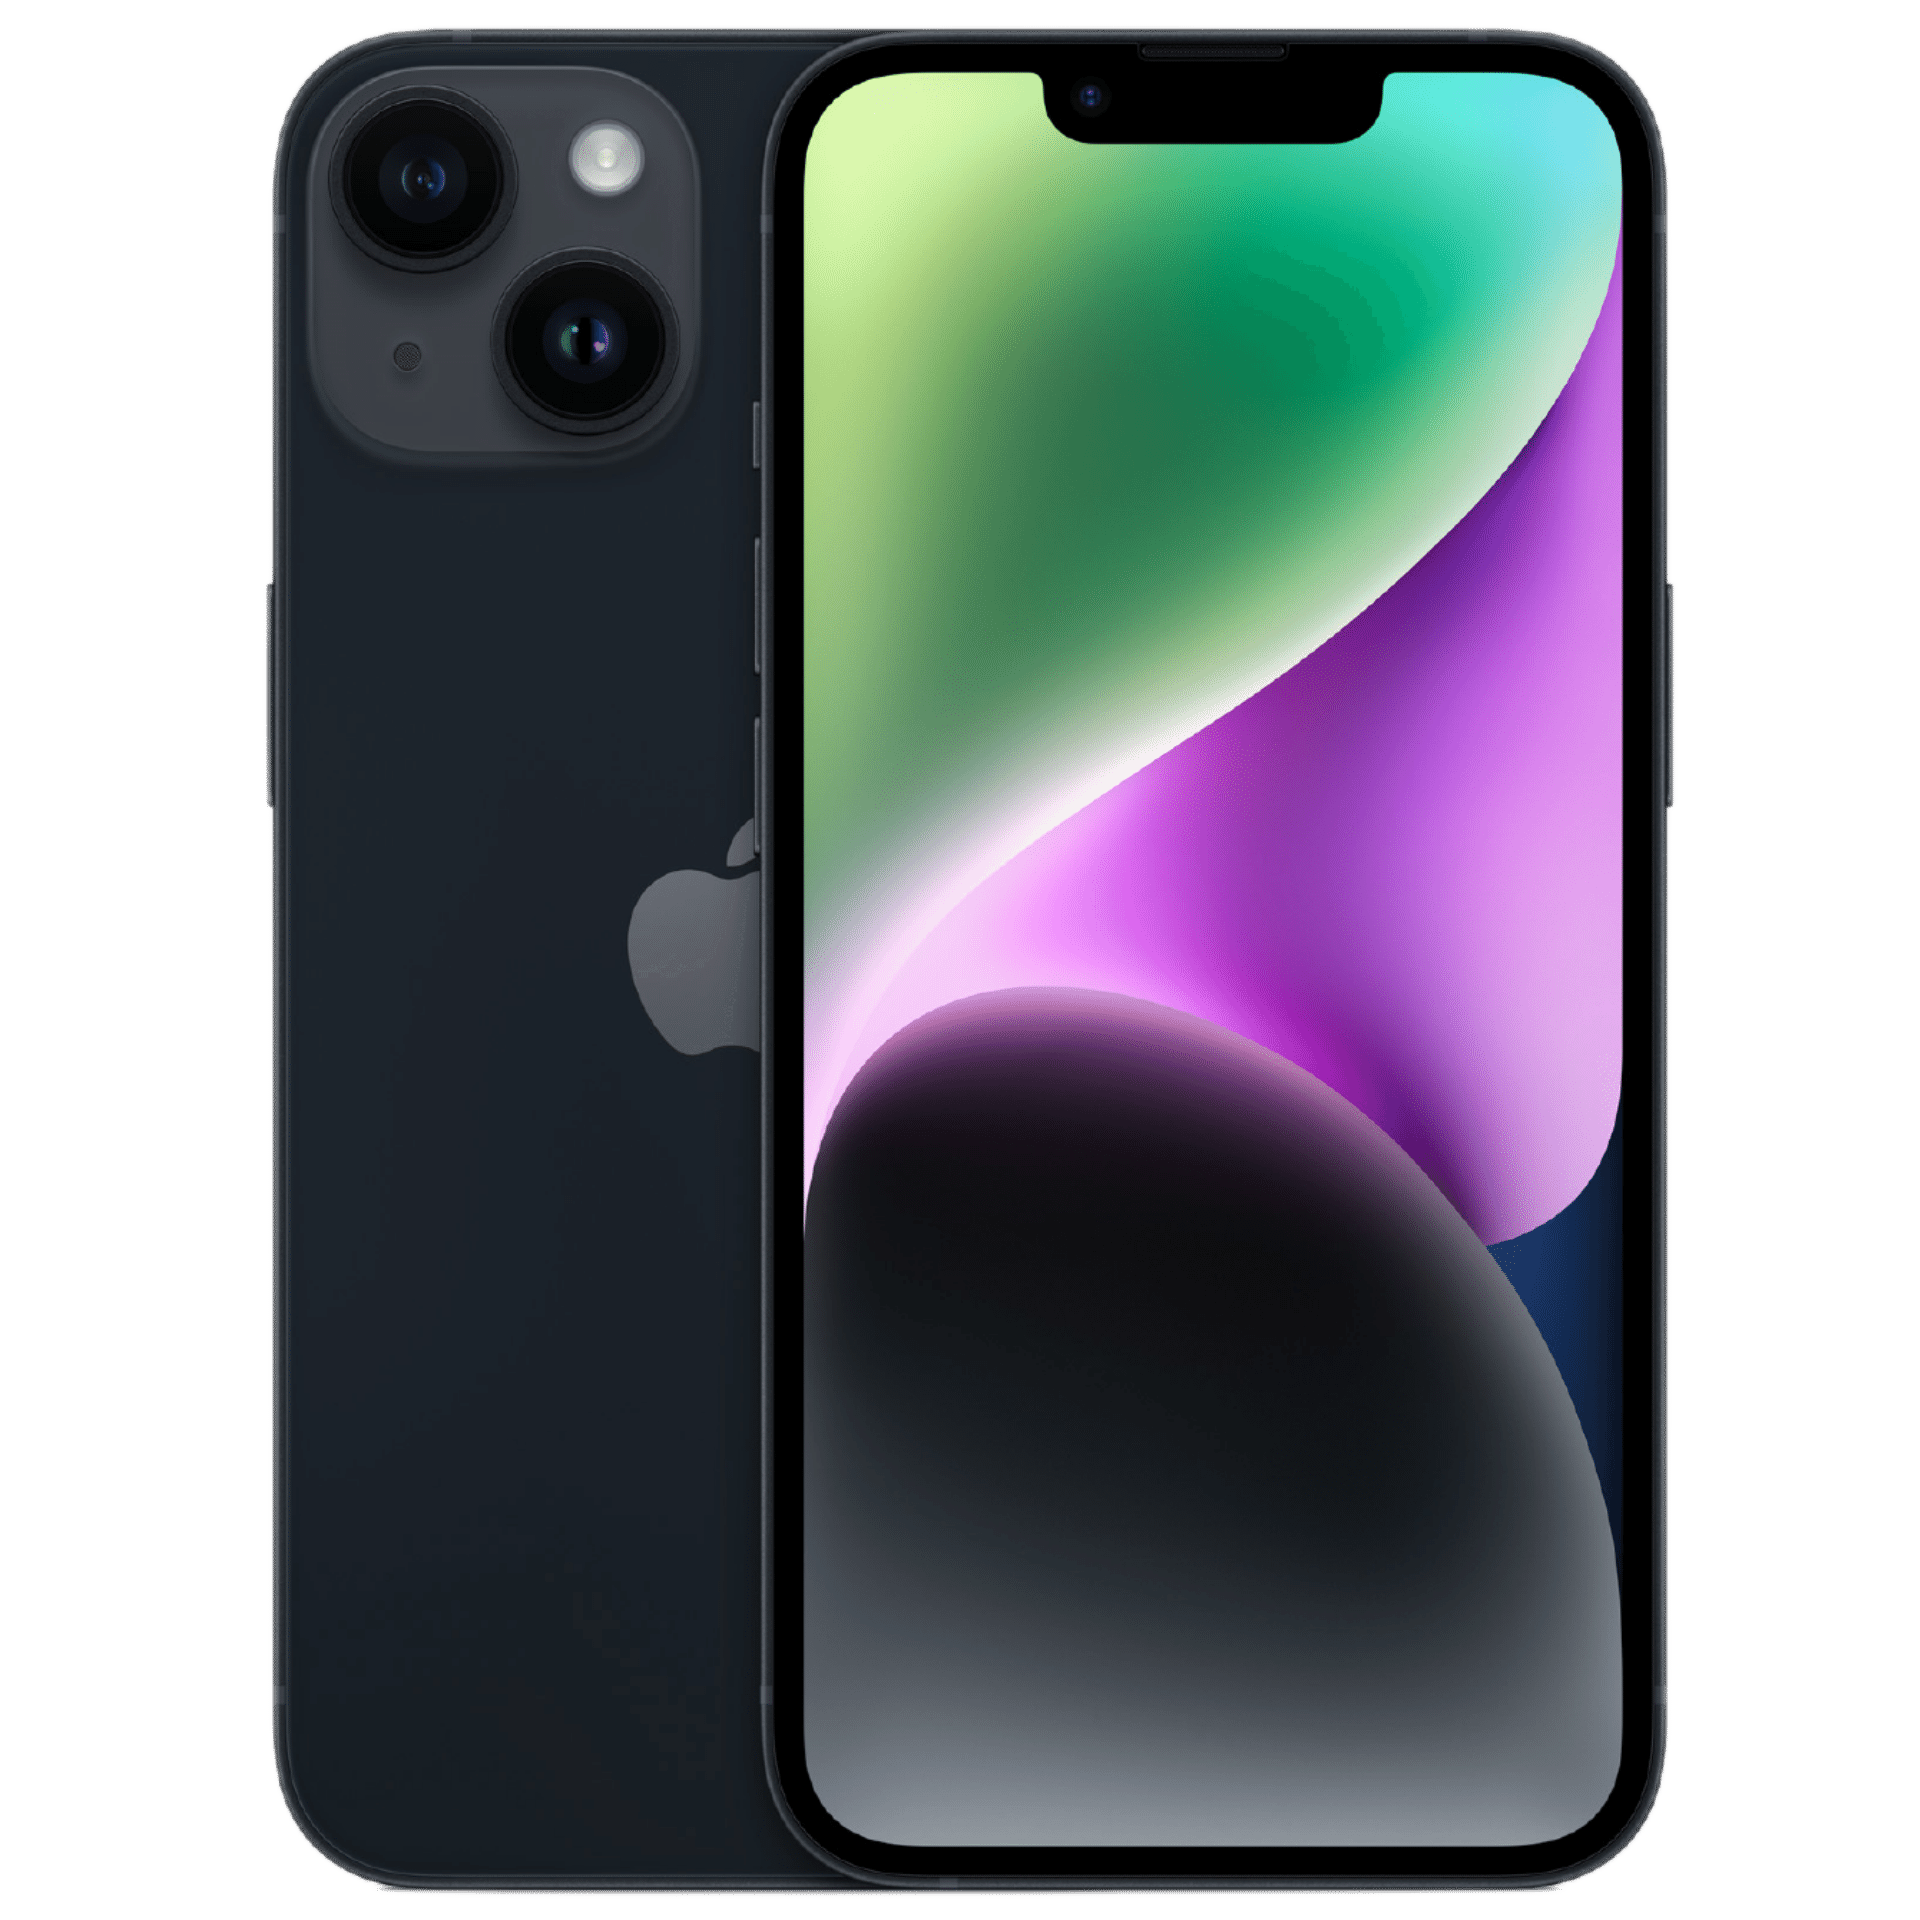
Apple iPhone 14
iPhone 14 joins the market as the smartphone to pick if you want a high-tier of performance, great cameras, and battery life that will last you through a day of use with ease. Check out all the deals on the device using the links given below.
-
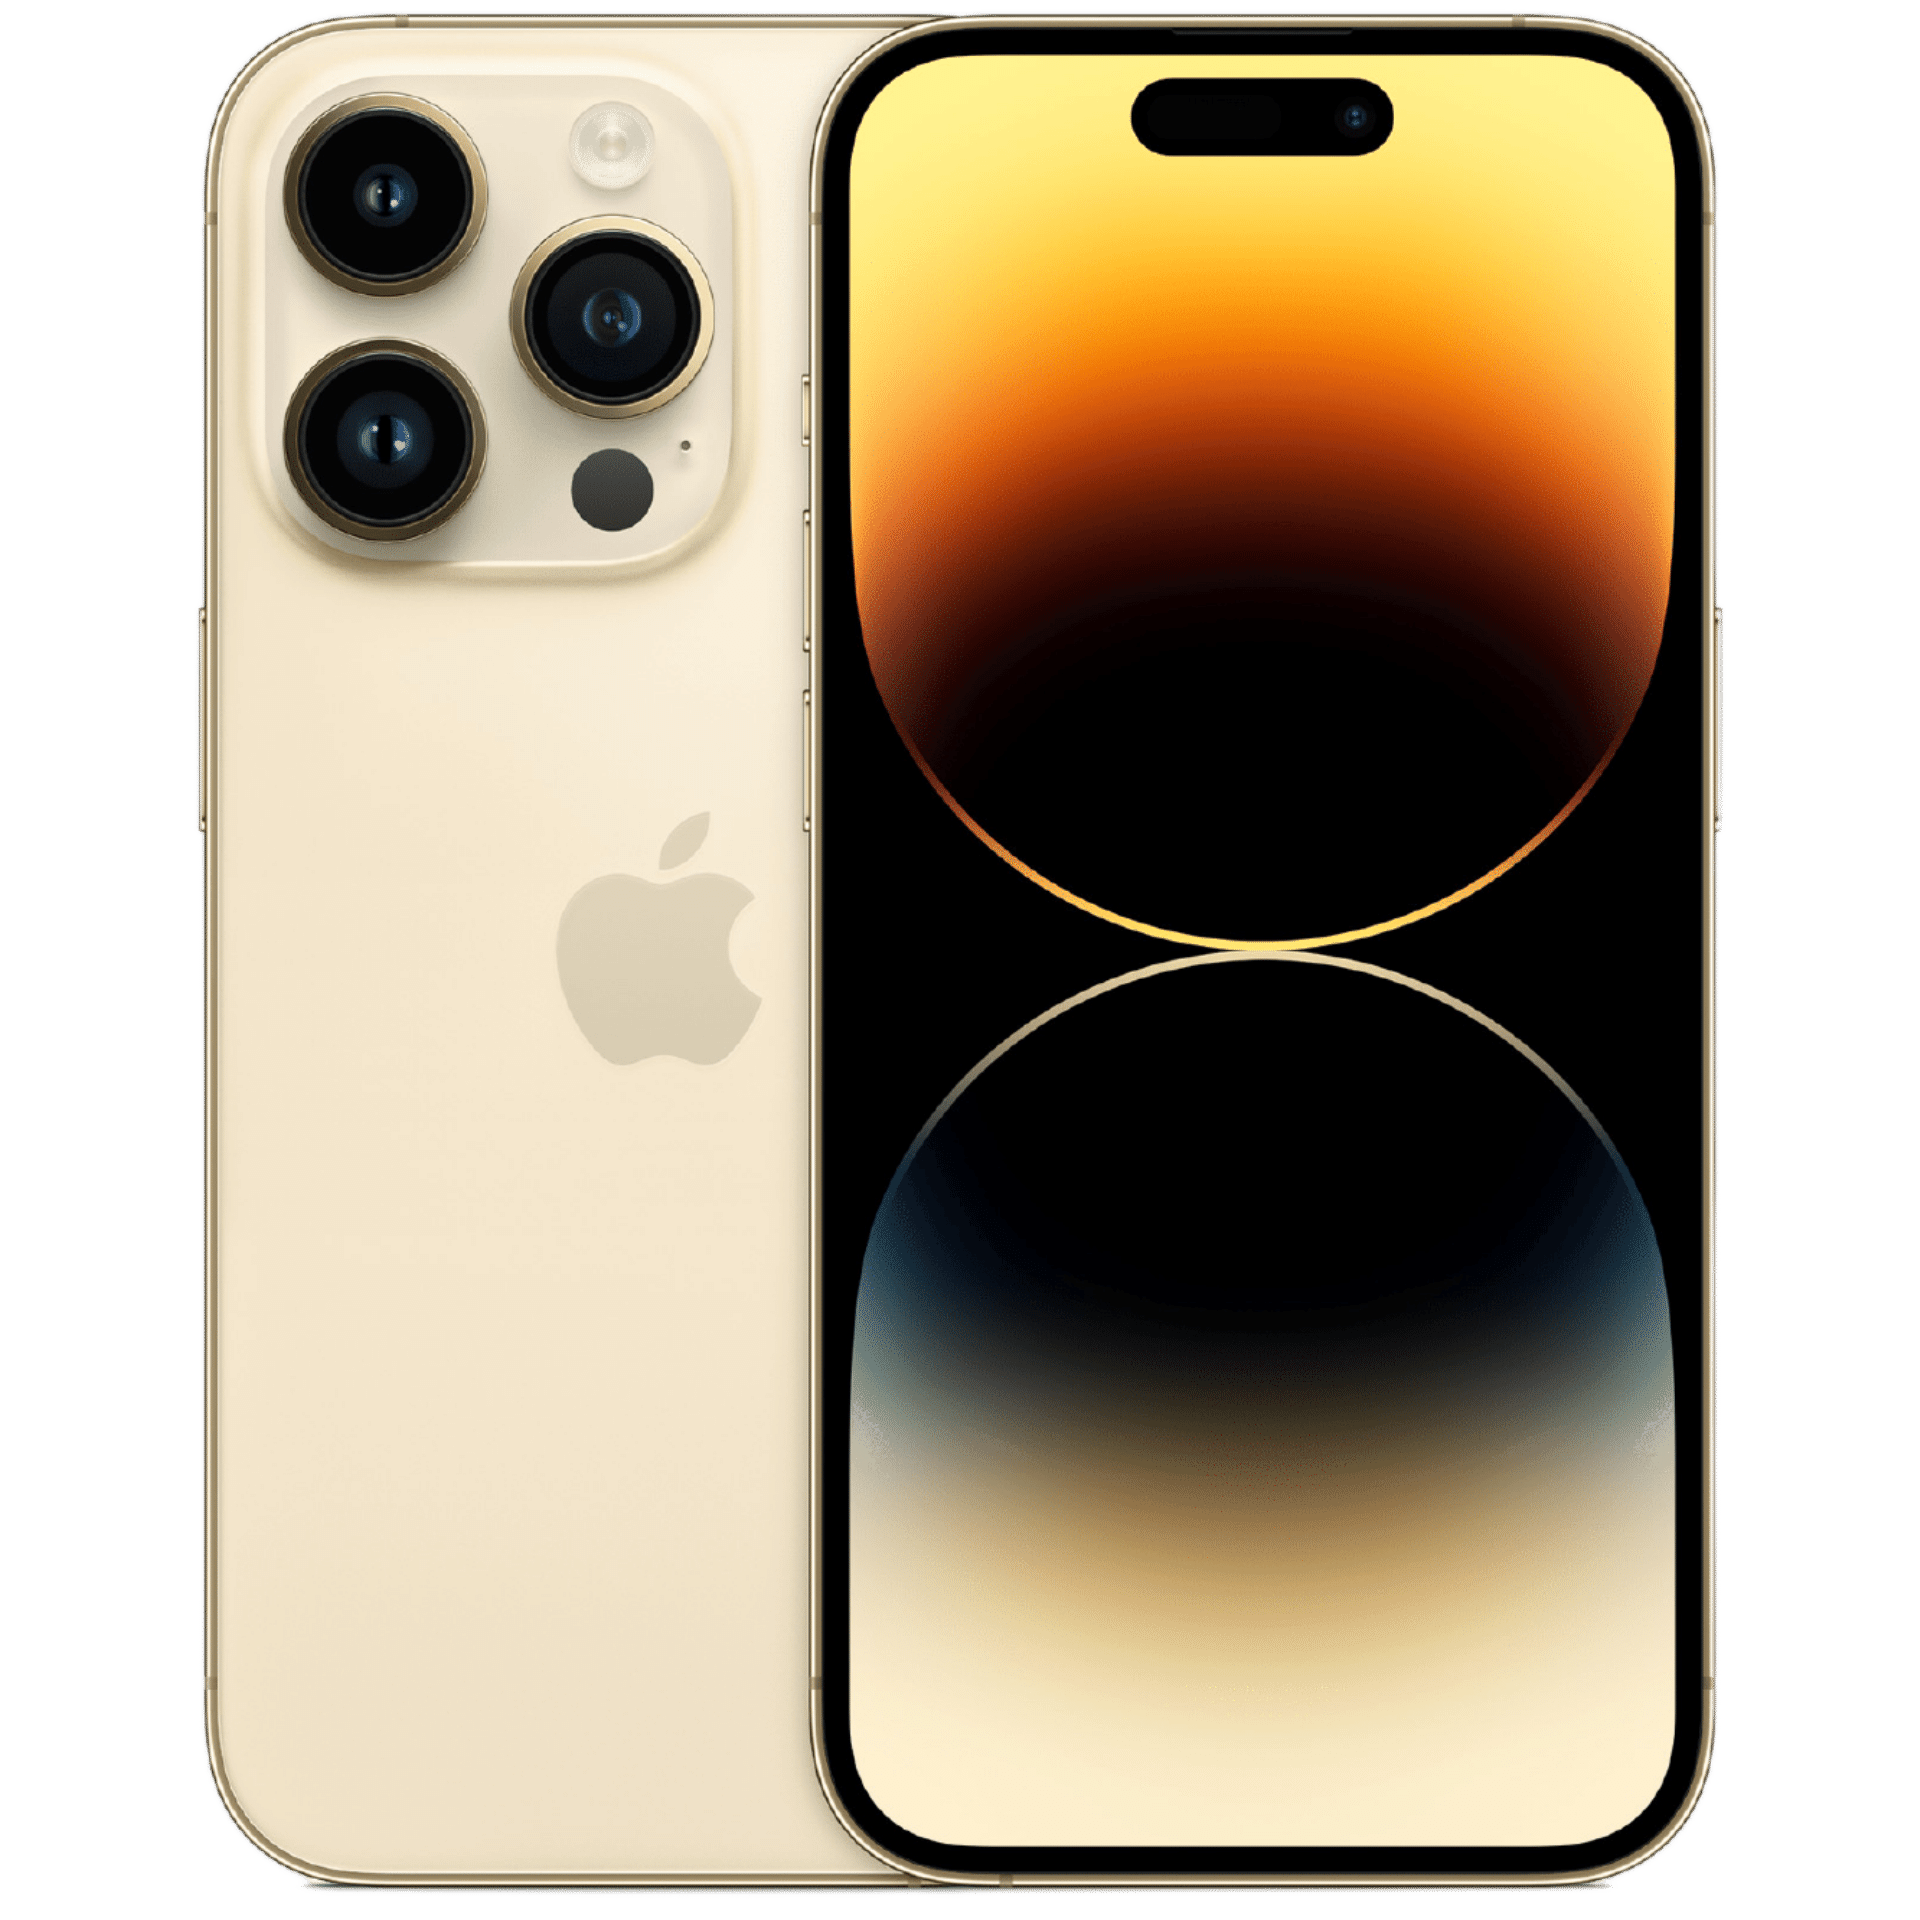
iPhone 14 Pro
iPhone 14 Pro is the latest premium smartphone from the brand. It features a new pill-shaped ‘Dynamic Island’ notch, 48MP primary camera sensors, an A16 Bionic chipset, and much more.
-
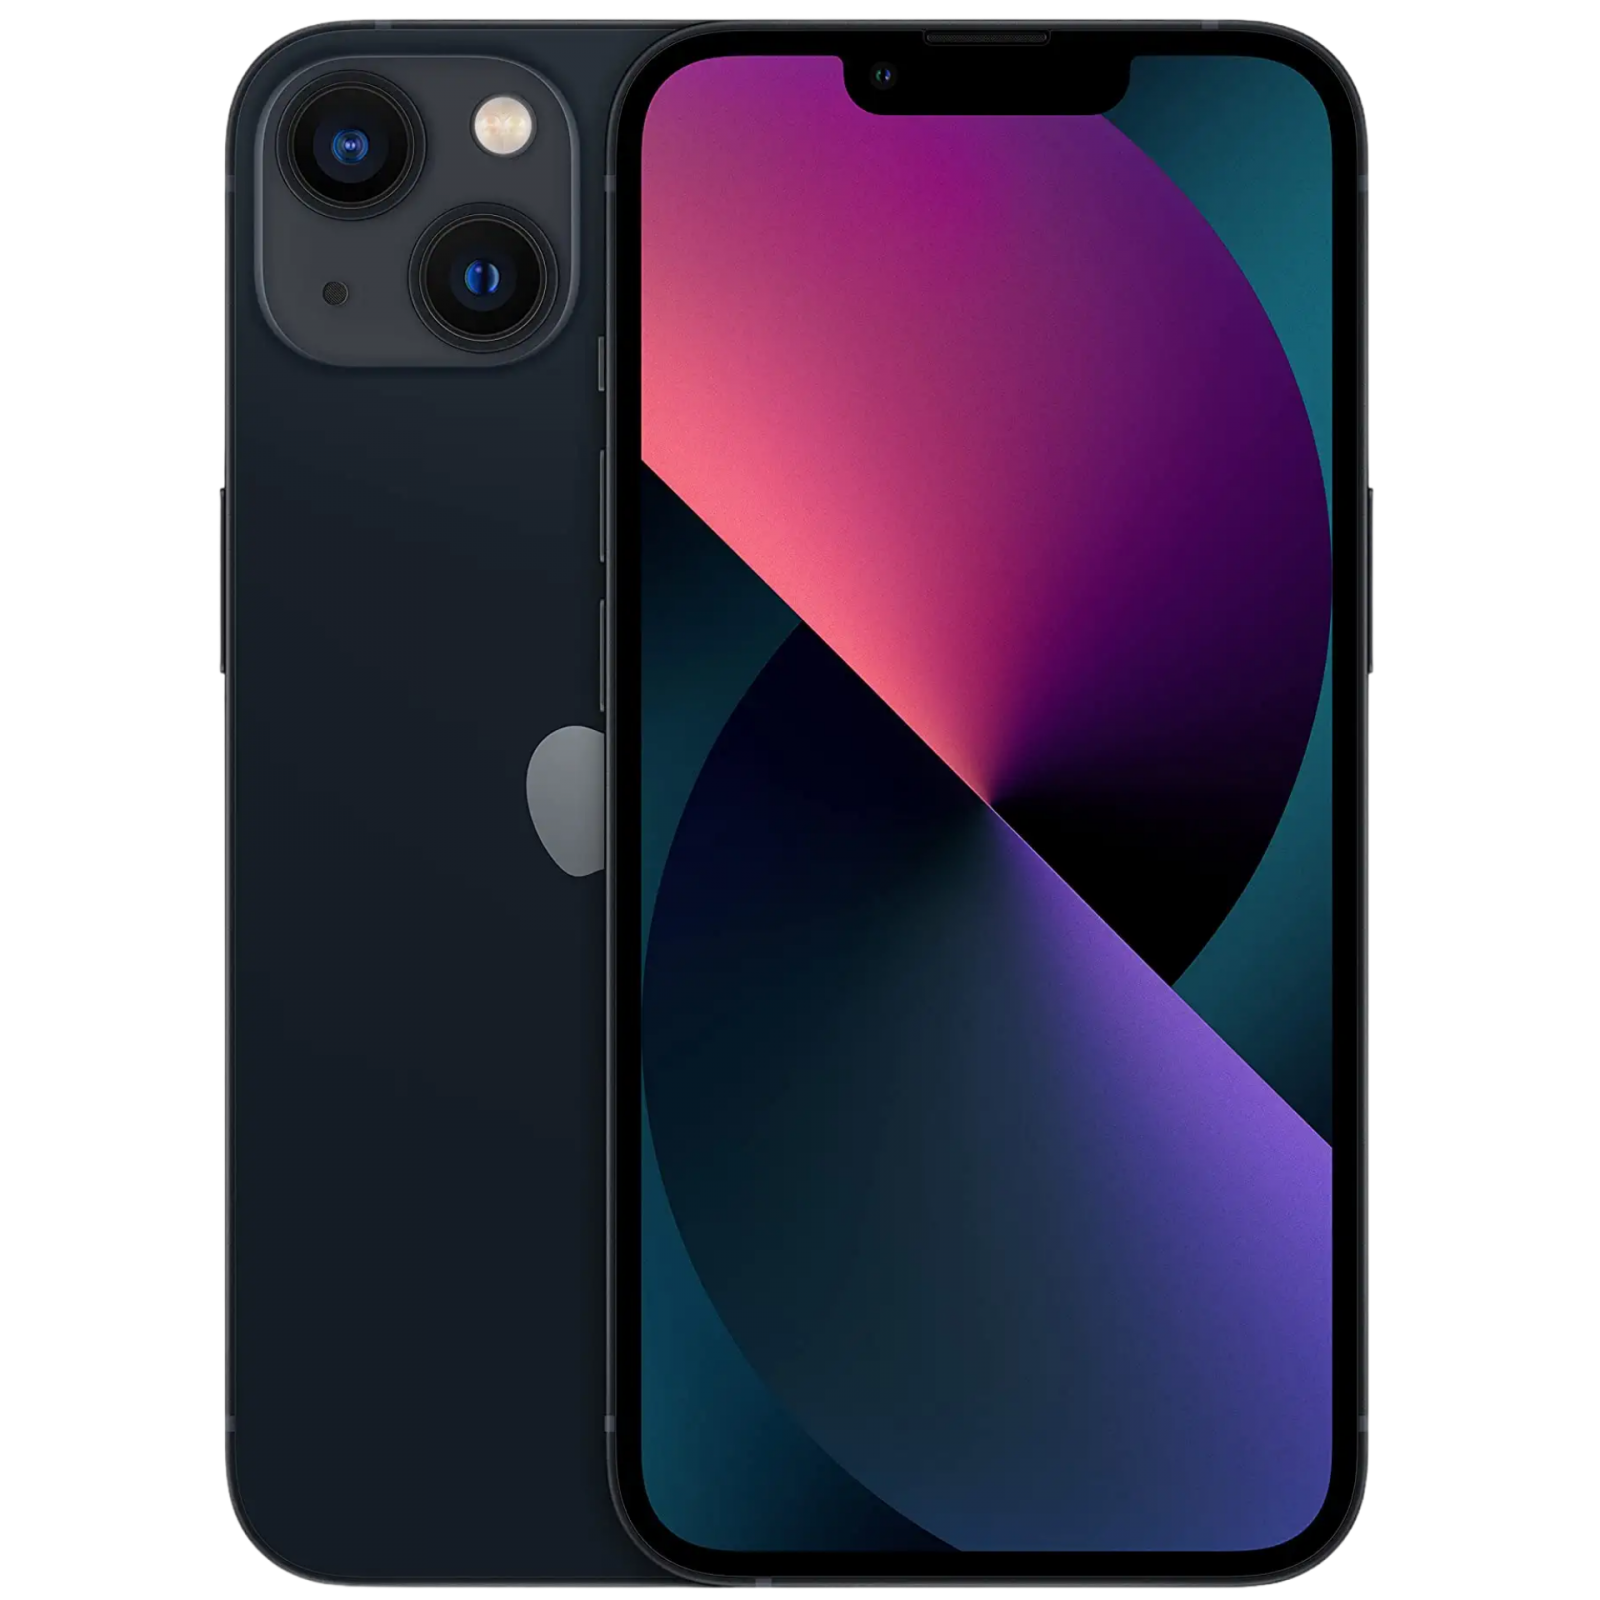
Apple iPhone 13
The iPhone 13 is the default smartphone from Apple for 2021. If you’re looking for an experience that remains fast and fluid over years to come and not lacking on any hardware front, this is the device to get.


