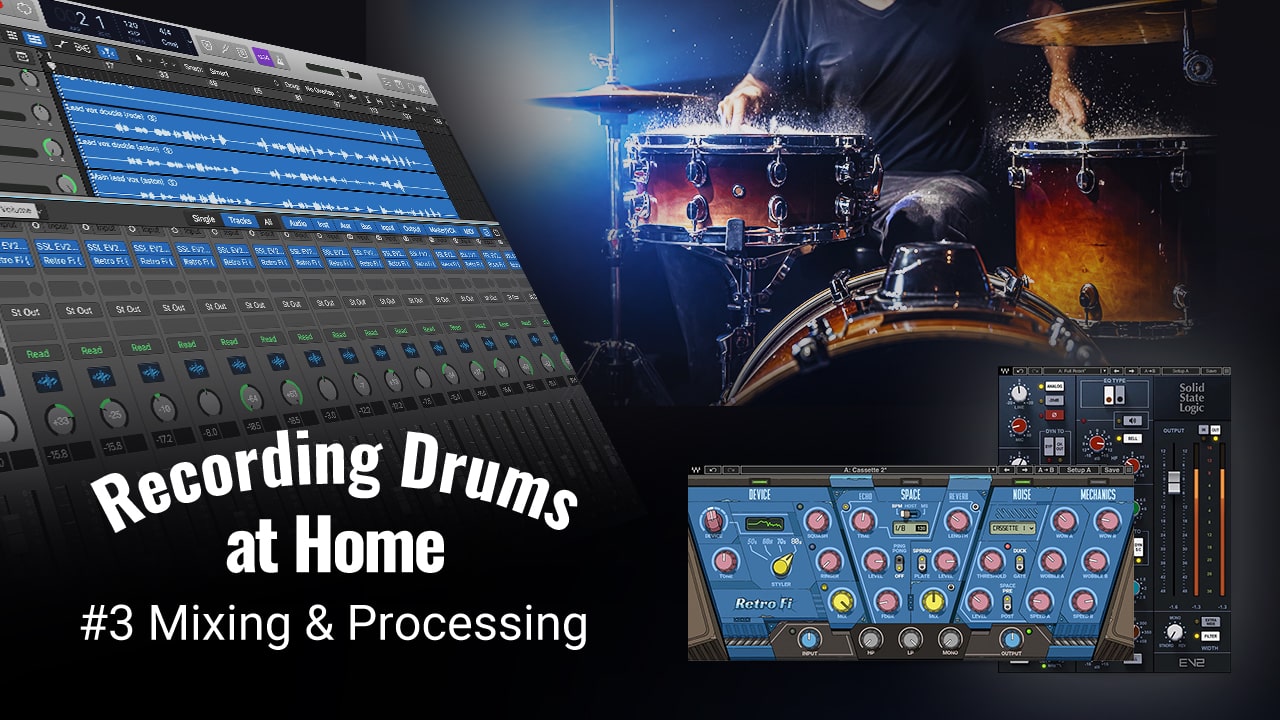
You’ve recorded your drums in a good room with the right mics, now what? Learn how to process drums with a plugin signal flow in your DAW to give them character and make them punch.
By Hunter West
This is the third and final installment of a 3-part series on recording drums at home. Check out part 1 on choosing the room & acoustic treatment here.
Now that you’ve decided on the space you will be recording in, you have your kit setup and you’ve properly placed the microphones, it’s time to consider what you will be plugging the mic signals into when they get to the DAW, and how you can put together a balanced and impactful mix of what you’ve captured.
A great drum sound results from the combination of all the steps we’ve considered up to this point, with the ability to process those captures in real time or in post with plugins in your DAW.
1. What signal chain will you be running your mics through?
A signal chain is essentially the physical or virtual pieces of equipment each microphone will be run through on the way into your DAW. If you’re just getting started, you will likely be plugging the microphones directly into an audio interface. An interface, or way to convert analog to digital, is technically the only thing you need to record. With that said, it’s important to mention that many of the great drum sounds you’ve heard on popular songs from the past and present are often processed through analog equipment on the way into the computer/tape machine, and then again processed after the fact with plugins.
As a rule of thumb, the more you can get the sound right on the way in, the easier and more natural it will be to get a “finished” drum sound in the mix.
Analog vs Digital? Do I need analog gear?
The short answer is no. While having the option of running through analog preamps, EQs and compressors can yield great results, the reality for those getting started is that before you really have a grasp on getting great sounds straight into your interface, you don’t want to complicate the process by adding more to the equation. Luckily, there are so many plugins available today that allow us to mimic the benefits of analog gear in the DAW, so it can be tweaked with flexibility after the fact.
Once you develop an understanding of dialing in EQ, compression, saturation, etc. with plugins, you can start to implement analog hardware into your signal chain to “commit” processing on the way in and get your sounds closer to a finished product earlier in the process.
Now, it’s time to get into our DAW and see how we can take our recorded songs further.
2. How can we use plugins to elevate our recordings to feel like a finished drum sound?
We live in a great, evolving time where plugins are fantastic at giving us the processing power to expand upon the sounds we capture. One of the primary benefits of having so many plugins available is that we can truly learn how each move we make affects the instrument without destructive damage to our audio. The ability to change the settings on any given processor at any point in the process really allows the learning curve to flatten quite a bit, as we can re-work that processing as we try new mixing techniques.
Let’s go over the basics of what some of the standard types of processors are doing.
EQ
EQ, (or equalization) in my words would be the amount of each frequency in any given sound. We can add or subtract different ranges from low to high, depending on the particular EQ type. This allows us to sculpt how bright, dark, thin or thick something may sound.
We can use EQ as an accentuating tool or a fixing tool. Sometimes we may want to make something poke out by boosting a particular frequency area, while other times we may want to tame some resonance or harshness with a cut of a certain frequency. Filters are often a part of EQ, such as high and low pass filters. A high-pass filter is setting a frequency point at which any frequencies below that are greatly decreased, and vice versa for a low pass filter; any frequency information above the set frequency is decreased heavily.
Compression
Compression, in my words, would be the amount at which we are controlling the range of loudness to softness (dynamics) of how a recording speaks. Something with a very small amount of compression could have many dips and peaks, or less consistency in the dynamic energy of the sound. Something with a lot of compression will have very few dips and peaks, or more consistency in the sound.
The important thing to understand within this explanation is that the beauty in music or sound is often the contrast of different sources having different amounts of dynamic range. “Consistency” in this instance could be good or bad. A sound lacking dynamics could sound lifeless or strangled, while narrowing the dynamic of a different part could sound full or solid.
Saturation
Saturation, in my words, would be the ceiling placed on any given sound – when the dynamic or loudness of that sound hits that ceiling, it clips or distorts. In most cases, this clipping or distortion can be very musical sounding and beneficial in bringing out harmonic content that’s inherent in the sound from the source.
There are many ways that pieces of gear can saturate, but the main two sources are increasing second or third order harmonics. Second order is a less abrasive type of clipping, whereas third order has more edge. Both can sound anywhere from subtle coloration to extreme distortion or fuzz, but those are the sources of the “saturation” we hear.
3. Let’s hear it in practice
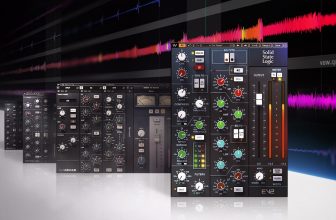
Now that we’ve established a basic understanding of what each of the processors are doing, let’s hear some examples. For this scenario, we’ll keep it simple and rely solely on the Waves SSL EV2 plugin for our channel EQ and compression, as well as the EV2 in addition to the Waves C6 Multiband compressor for our drum buss (a single stereo channel where all the individual channels are sent to be processed as a whole). The SSL channel strip is my favorite style of tool to use for EQing and compression and it has both of those functions in one plugin along with EQ filters and a gate (which we won’t use this time).
Here are some examples of a full kit mix, comparing with and without the drum buss processing from the SSL EV2 and C6, as well as without any individual channel processing from the SSL EV2.

- Full Drum Mix (no channel processing)
- Full Drum Mix (no buss processing)
- Full Drum Mix (EV2 + C6 on buss)
As you can hear, when processing a full kit, I often find it beneficial to boost a few dB of several frequencies that feel are fundamental areas for the overall sound. These frequencies may change based on how low or high the kit is tuned and the overall balance of how each piece of the kit is speaking. In this case, I boosted a few dB of 8k, 1.5k, 300 and around 60 hz. I used the high pass filter around 15 hertz to get rid of any un-needed super low-frequency information that would cloud the sound. I also glued the dynamics of the kit together a bit to get a smoother, more consistent transient behavior by using the compressor set to 2:1 ratio, low threshold and medium-fast release.
In basic terms, the ratio is how many dB the compressor is turning down the source per every dB it surpasses the threshold, which is essentially the ceiling at which it starts to compress. So, with a 2:1 ratio, for every 2 db the source passes the threshold, the sound will compress 1 db. I simply think of it like this – the higher the ratio, the more you will feel/hear the compression. The release is how long the compression holds onto the sound before releasing it.
The C6 is something I am using to get a little more body and punch from the low end of the kick predominately, by setting a dynamic band of compression only in the lower frequencies. It’s essentially working as an expander (louder parts become louder, quieter parts become quieter).
Now let’s look at the individual channels and compare the differences with and without the SSL EV2 providing some EQ and compression on each channel.

- Kick in (no EV2)
- Kick in (with EV2)
- Knee Mic (no EV2)
- Knee Mic (with EV2)
- Stereo OHs (no EV2)
- Stereo OHs (with EV2)
- Stereo Rooms (no EV2)
- Stereo Rooms (with EV2)
- Snare Top (no EV2)
- Snare Top (with EV2)
As you can tell, I used a similar mentality on each channel of boosting frequencies that I felt could benefit from being accentuated, and I added the amount of compression I thought controlled the dynamics in the way I wanted. There wasn’t much cutting of frequencies in this case because I had committed some processing on the way into the DAW and made sure I dialed in the sounds at the source first to prevent distracting resonances or peaks.
The question you may be asking yourself now is, “well, how do I determine which frequencies I want to boost or cut?” Or “how do I know how much compression to dial in?”
For EQing, simply boosting a fair amount and moving the frequency knobs through different frequencies will help you identify which tonal areas either feel good being accentuated or feel worse being accentuated. Once you can identify those key frequency points for boosting or cutting, you can determine which bands you want to use for each job. You can use this method on any EQ.
For compression, I would encourage you to first determine whether the sound is feeling like it could benefit from some dynamic control. Not everything needs compression, and it’s easy to over-do, but once you learn how to tastefully use it, it can benefit many sources. I would start by setting the ratio to a lower setting and playing with the threshold and release. The lower the threshold number, the more the sound will compress. Adjusting the release will be something you feel more than hear, and can be adjusted to suit the tempo of the source.
Simply playing around with each parameter and critically listening will help you understand how each one is affecting the sound. Trust your ears and you will eventually begin to have more confidence in your decision making.
Once you get familiar with using EQ and compression to finesse your recordings, we can begin to play with bolder types of processors, techniques and routing to get more unique or colored sounds.
4. How can we use plugins to completely alter our drum sounds to find new and unfamiliar textures?
Part of the fun in all the plugin developments over the past decade, is how quickly and effortlessly we can alter our sounds for specific sections of a song, or even for sound design. Here we’ll explore some fun lofi sounds with the Waves Retro Fi plugin. For these examples, I simply put Retro Fi on the drum buss after all my other processing so that the plugin is hearing is a well-balanced drum sound.
Here are a few presets without any parameter changes that offer some unique color to the whole drum sound.

- Drum Bus Sweet 16 Preset
- Hairy Kick Preset
- Retro 2 Preset
- You’re Cutting Out Preset
The world of processing and mixing drums is a vast and detailed art, but once you have a general understanding and confidence in relation to EQ and compression, you can begin to pull more and more out of your captures. Hopefully this series has allowed you to get a solid start with learning to record drums at home.
This is the third and final installment of a 3-part series on recording drums at home. Check out part 1 on choosing the room & acoustic treatment here.
Hunter West is a producer, mix engineer, musician, and artist currently based in Nashville, TN. Check out Hunter’s work, samples, and more here: huntertwest.com.
Want to get more tips straight to your inbox? Subscribe to our newsletter here.
creditSource link


